Stellarscope the hands-on planisphere with the original box very early example
Please Log In to view the details for this classified ad.
Don't have an Astromart account? Click here to create one
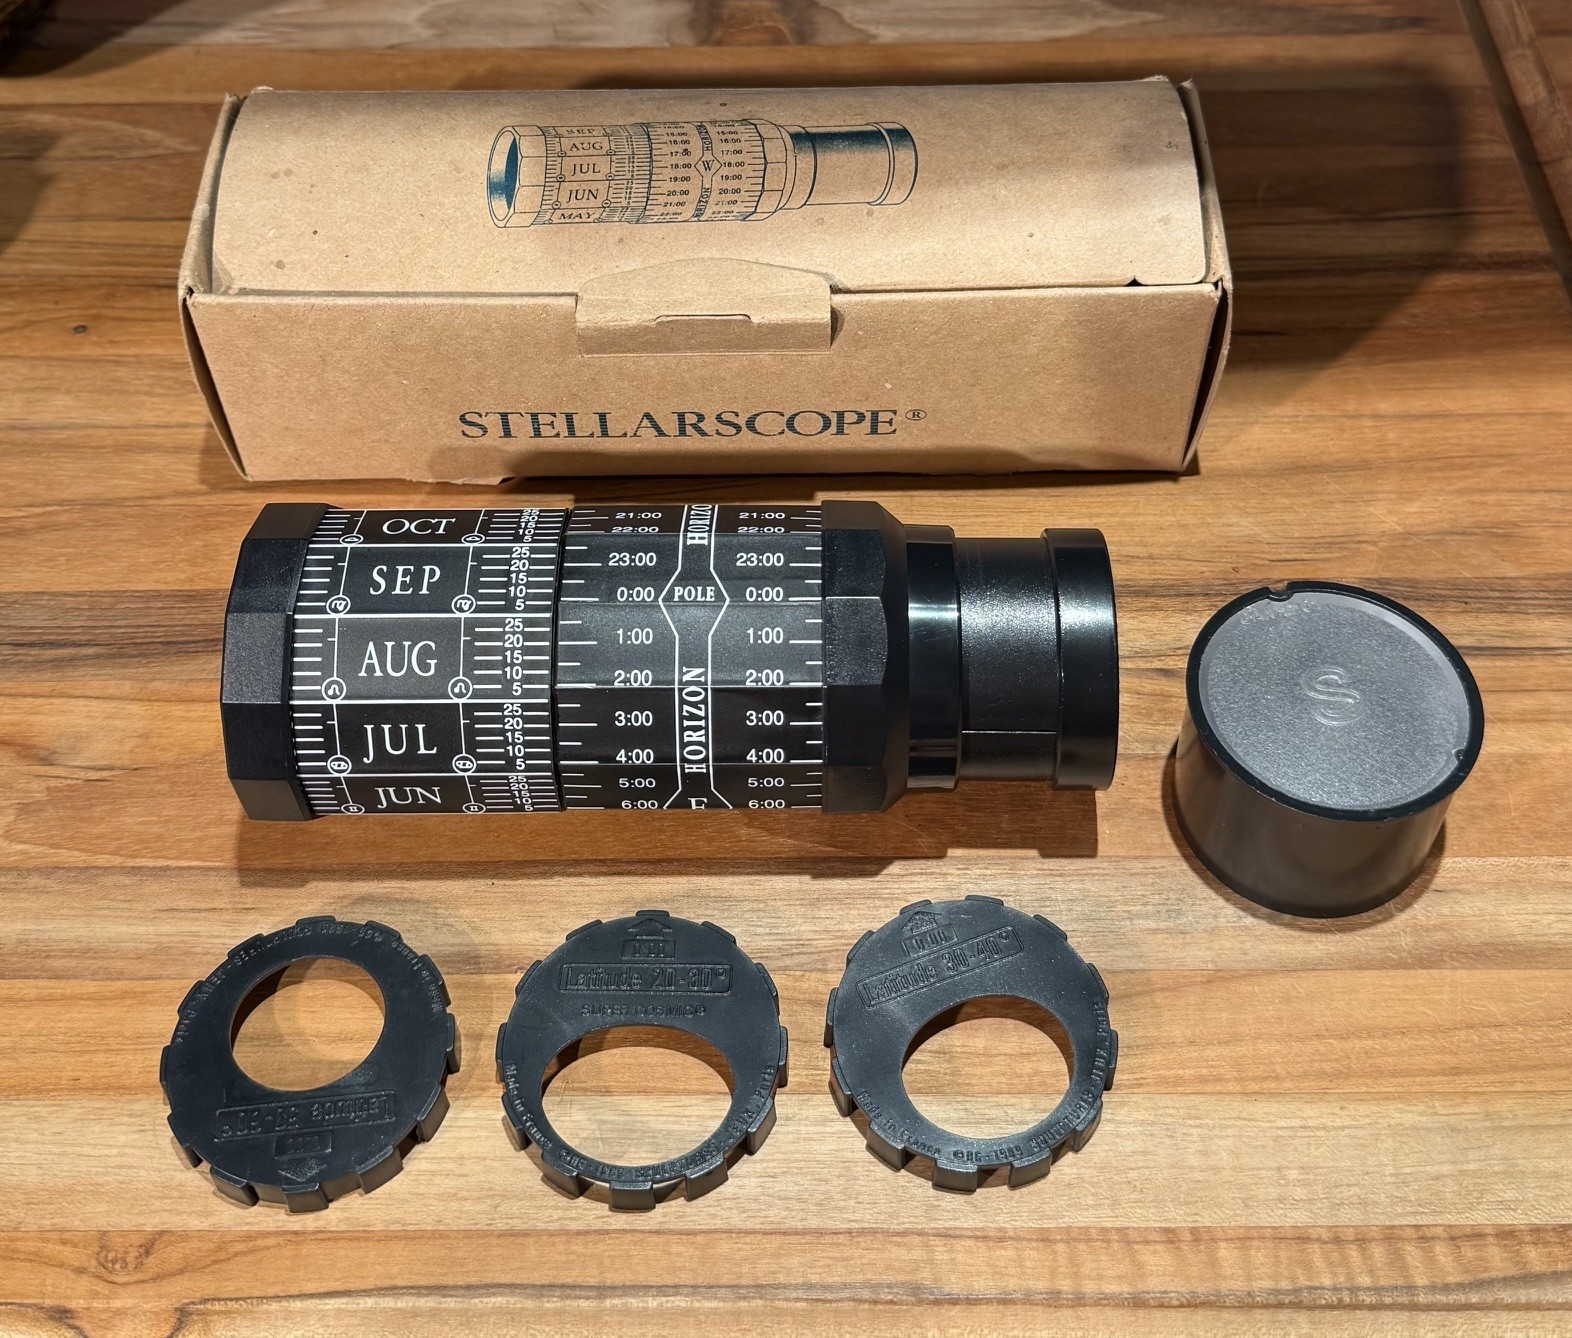
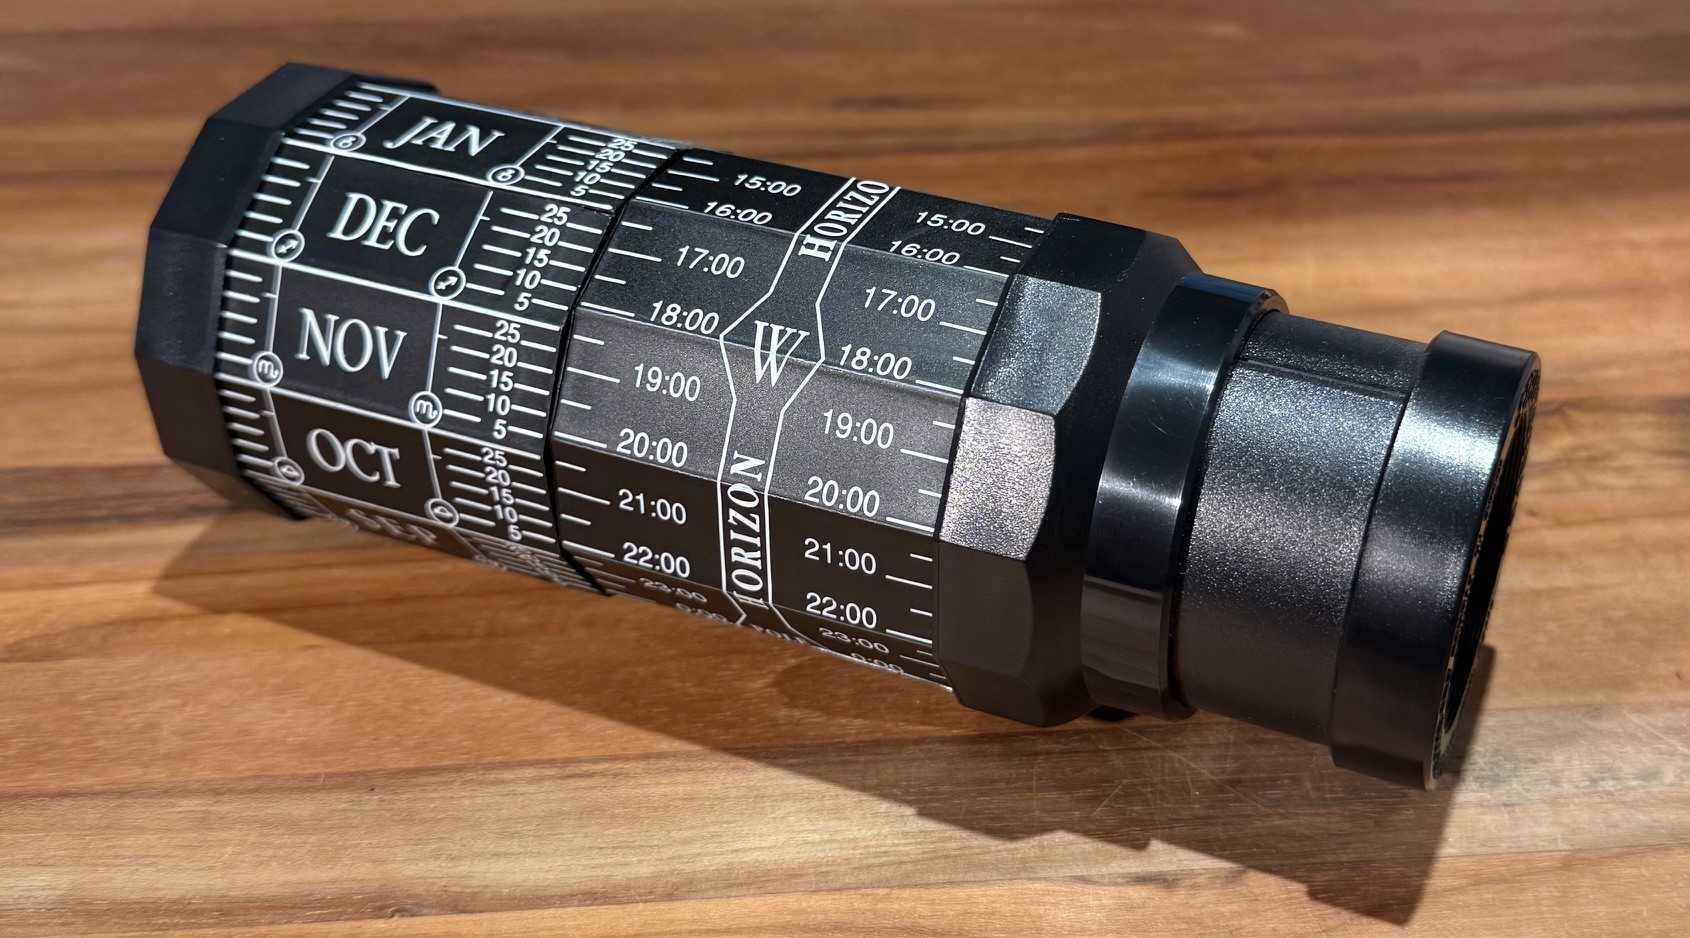
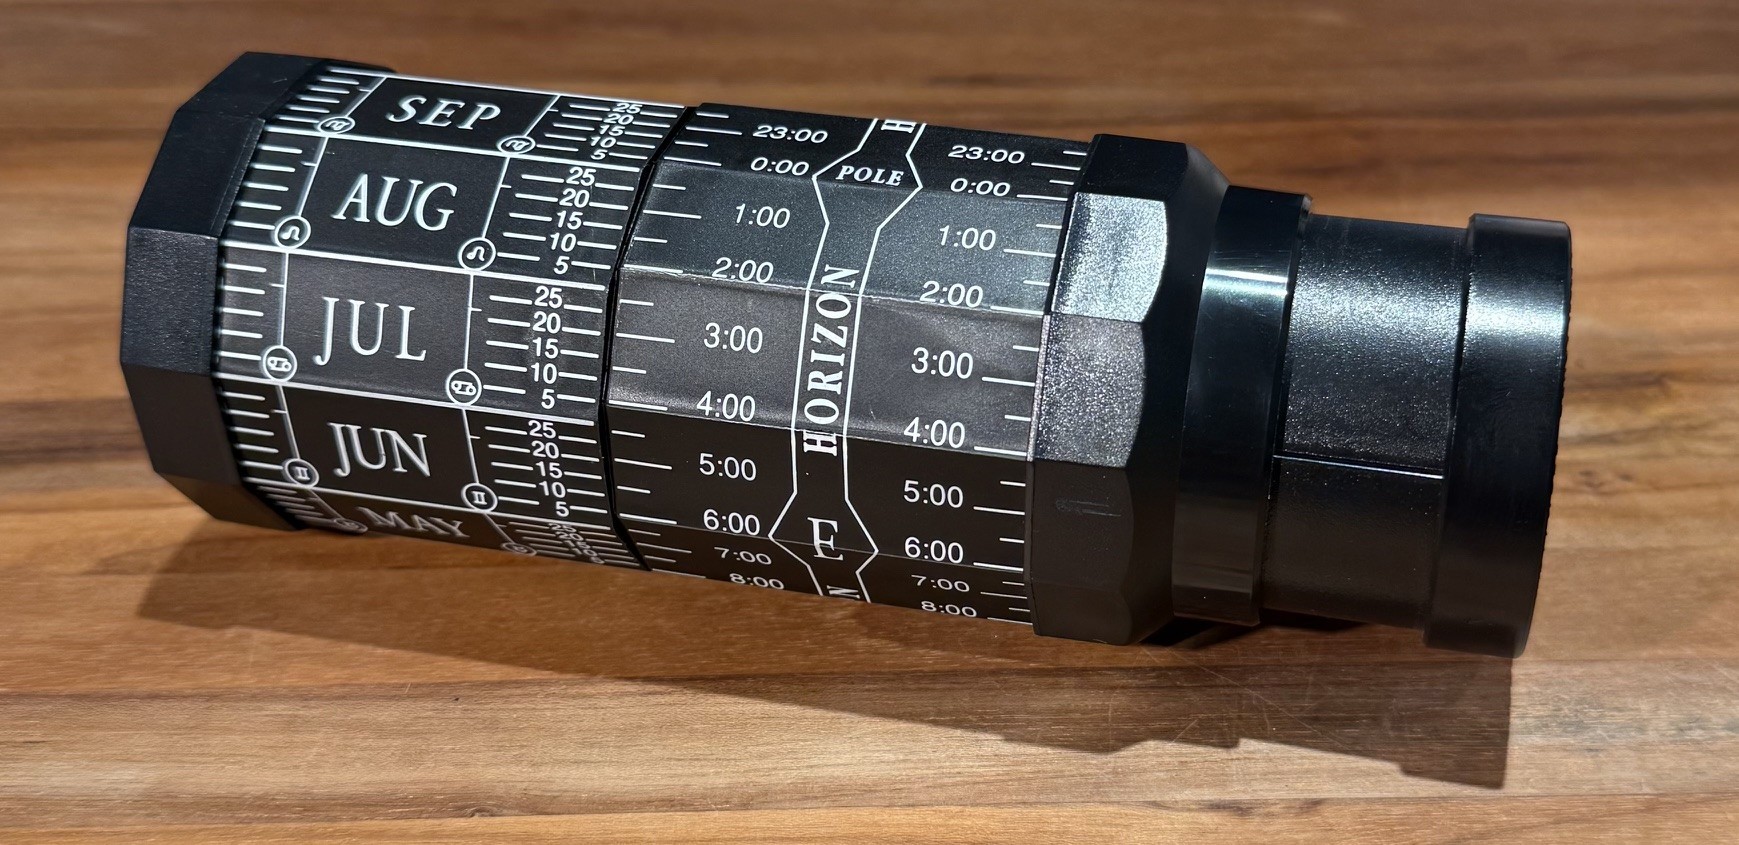
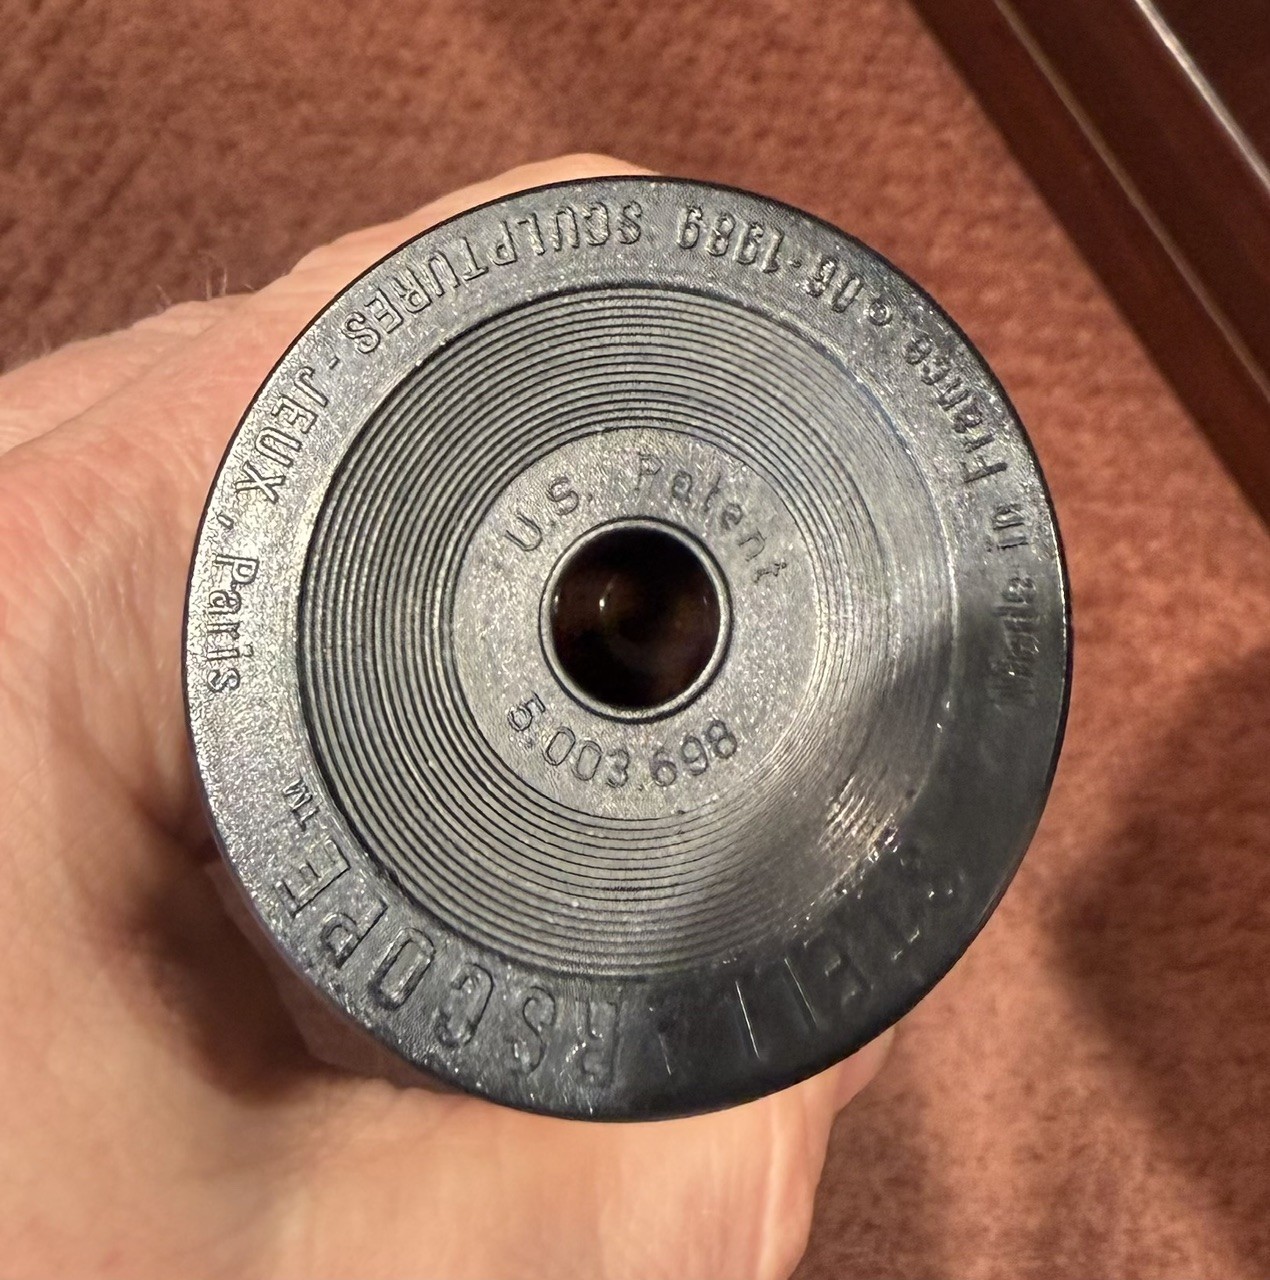
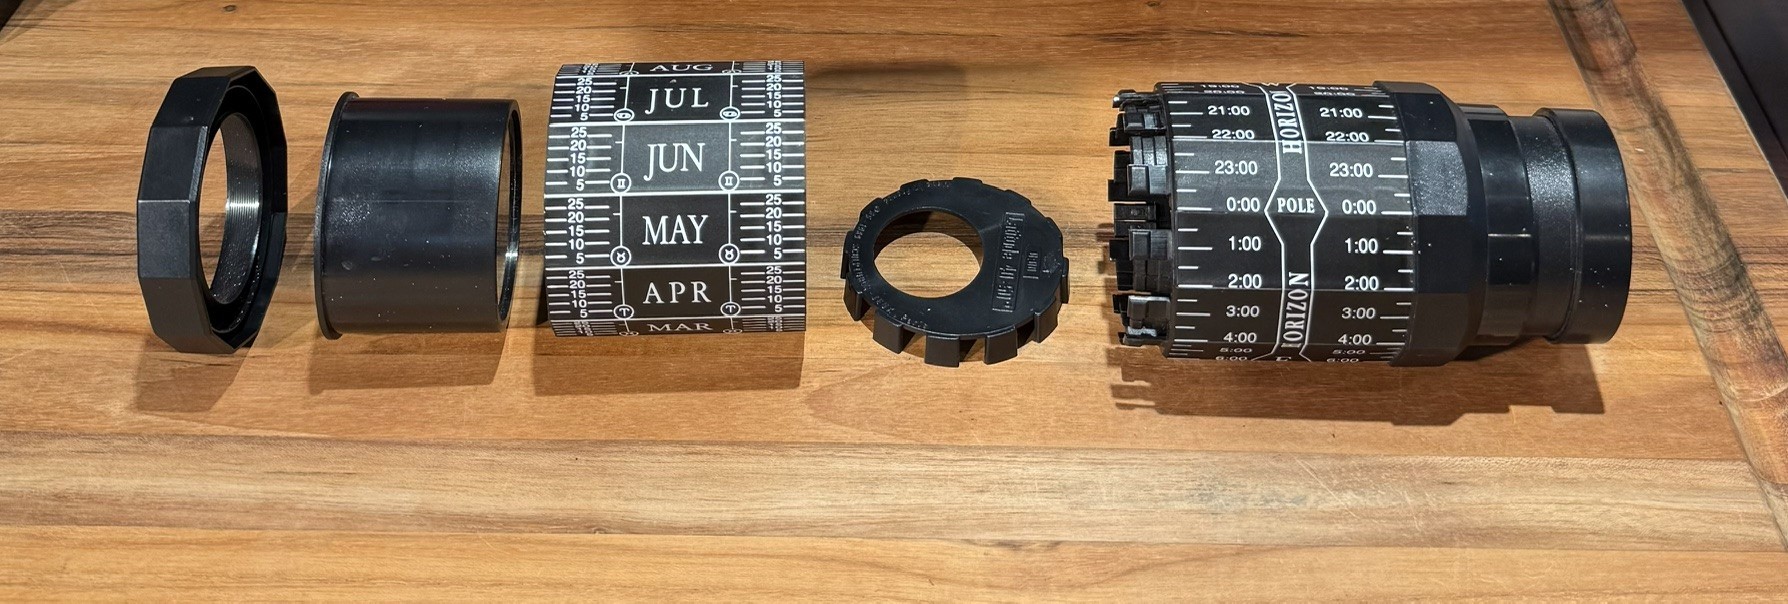
This auction is for a 1993 Stellarscope (Sculptures-Jeux of France), which was imported by Sarut of New York, USA. The scope will come with both its original sky maps, all (4) original latitude aperture inserts, and the original box.
Being an avid collector of vintage planispheres and star maps, I loved these Stellarscopes upon first sight as an early teen and remember when the late Al George (my mentor) of PGO Observatory in Tacoma, WA started selling these in his Sky Shoppe back in 1992. It is like a planisphere; actually, it IS a planisphere. Except instead of holding a flat disk in your hands and looking up at the sky, you hold the Stellarscope like a pirate's telescope and look through it to see the sky on a planisphere-like grid. Twisting it like a kaleidoscope rotates the "window" of visible stars in the sky.
It is an interesting concept and will actually captivate newcomers more easily to entry astronomy (especially kids and teens) because they get to grasp-and-hold the sky in their hands; enhancing connectivity values.
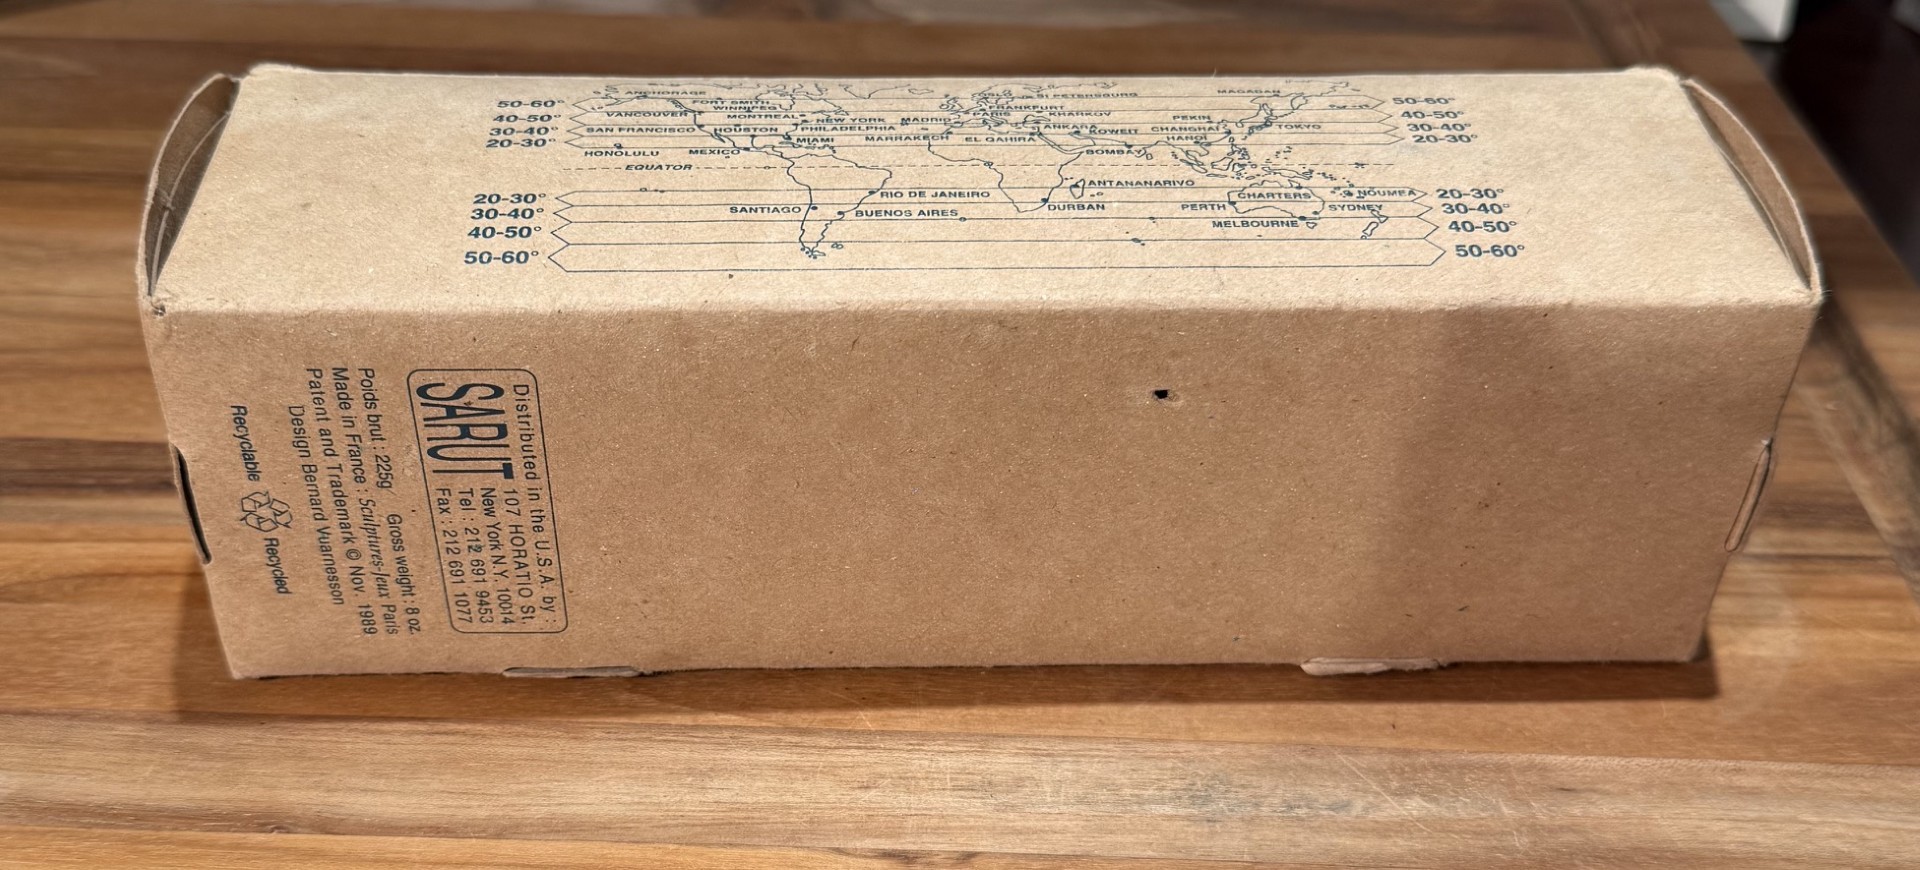
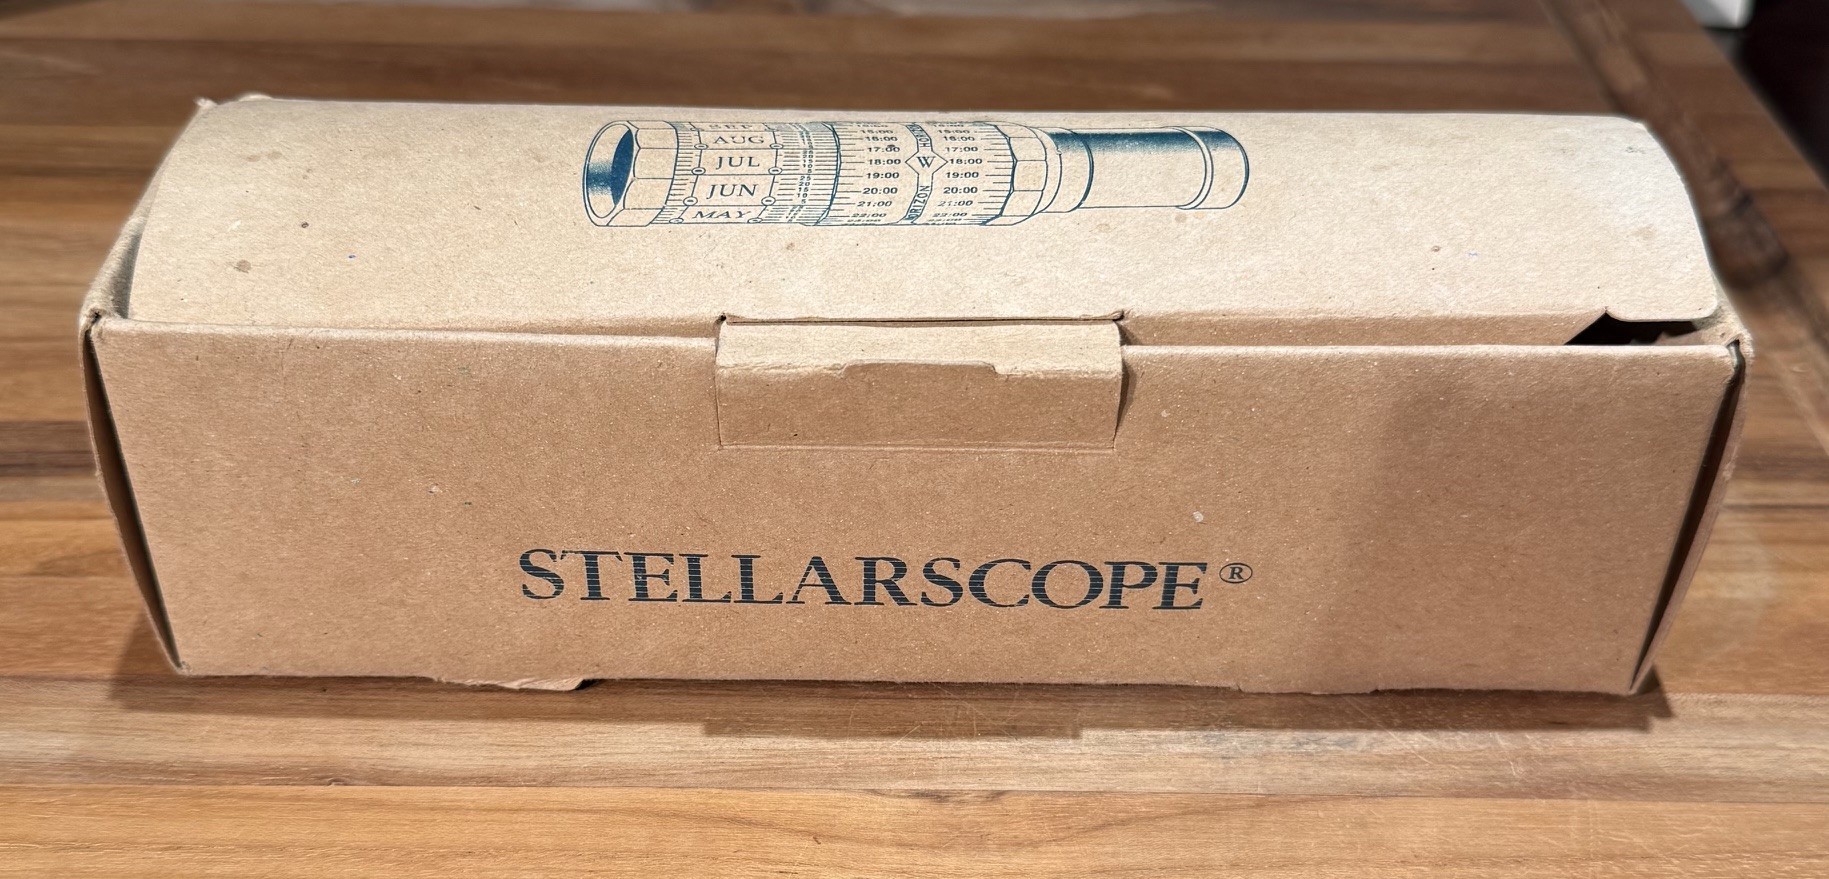
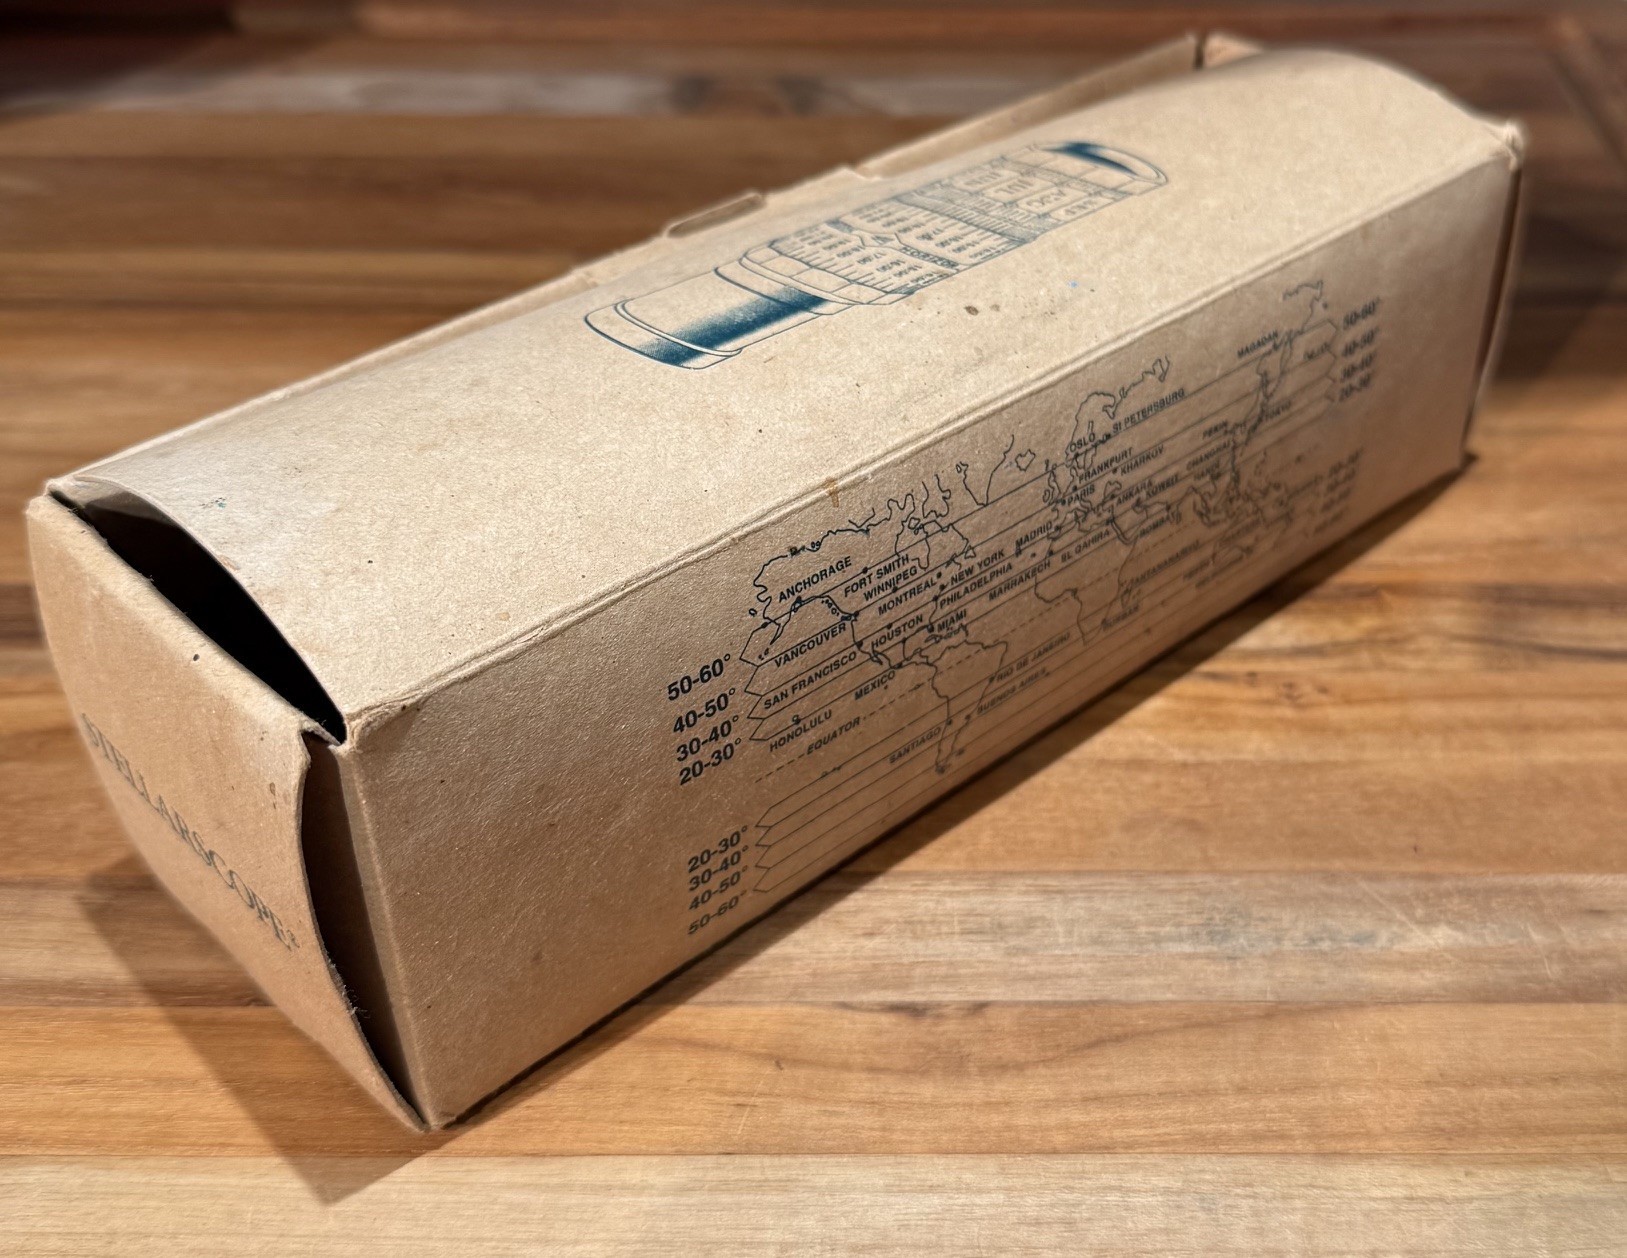
Anyway, this one here is an early 1990s example and is one of the earliest (if not the earliest) generation examples I have come across; the simple beige cardboard box being the giveaway. Usually, you see these in the corrugated plastic blue or green boxes; sometimes gray-white; all with far more enticing graphics on the box. Despite the boxes, which will tell the generation era, the Stellarscope itself remains widely unchanged from its original template, which goes back to June of 1989 when it was released by its designer, Bernard Vuarnesson of France.
Some of the most recent Stellarscopes now come with a keychain led light. By this time frame, they will now be sourced from Navir of Italy. But, again, the way the Stellarscope looks and operates is unchanged from the original. We have seen this with the Telrad Reflex Finder, which upon even a trained glance, appears the same since the 1980s.
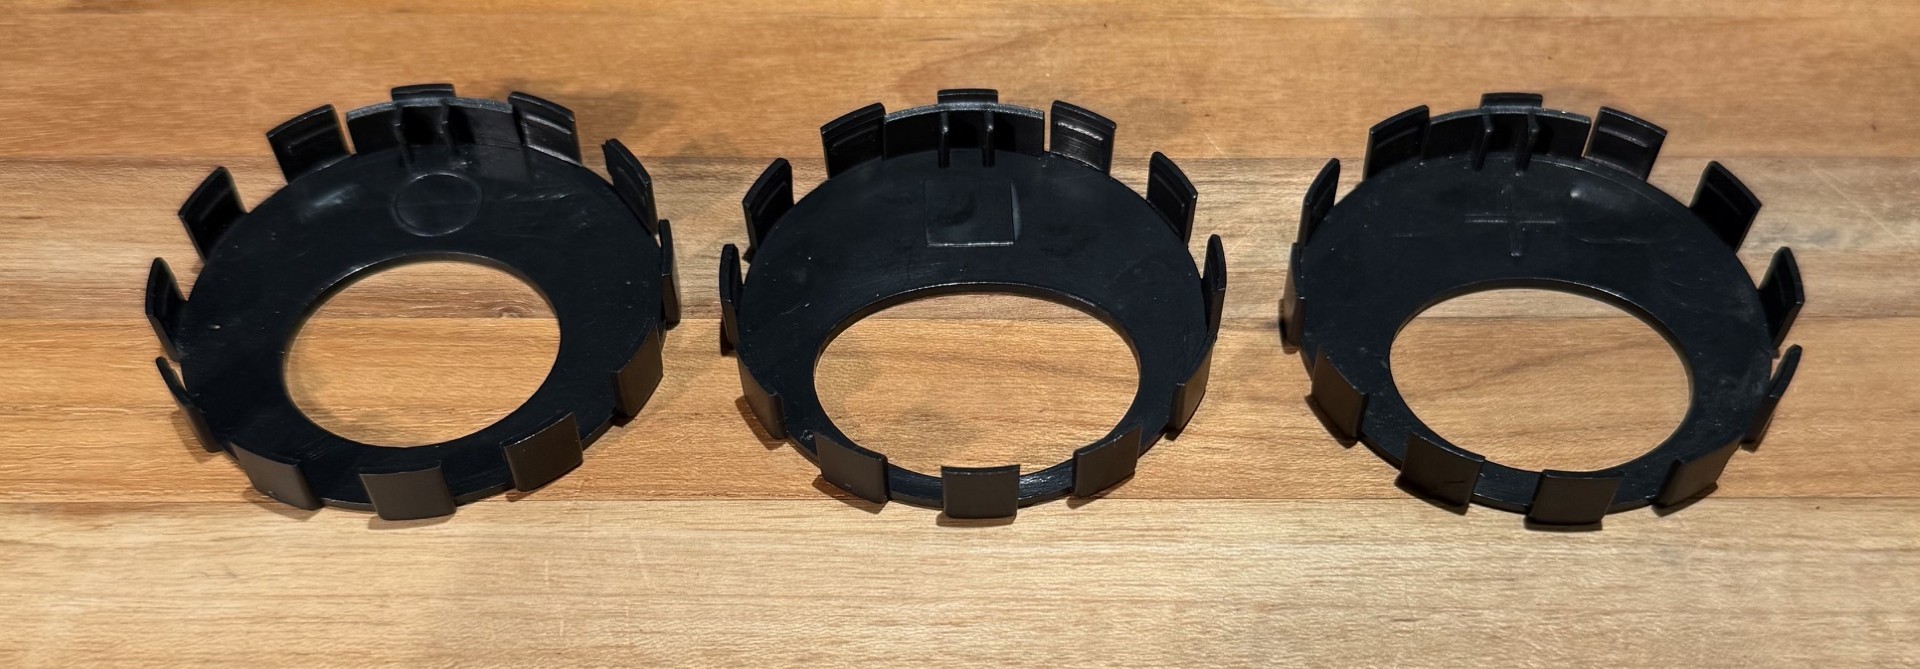
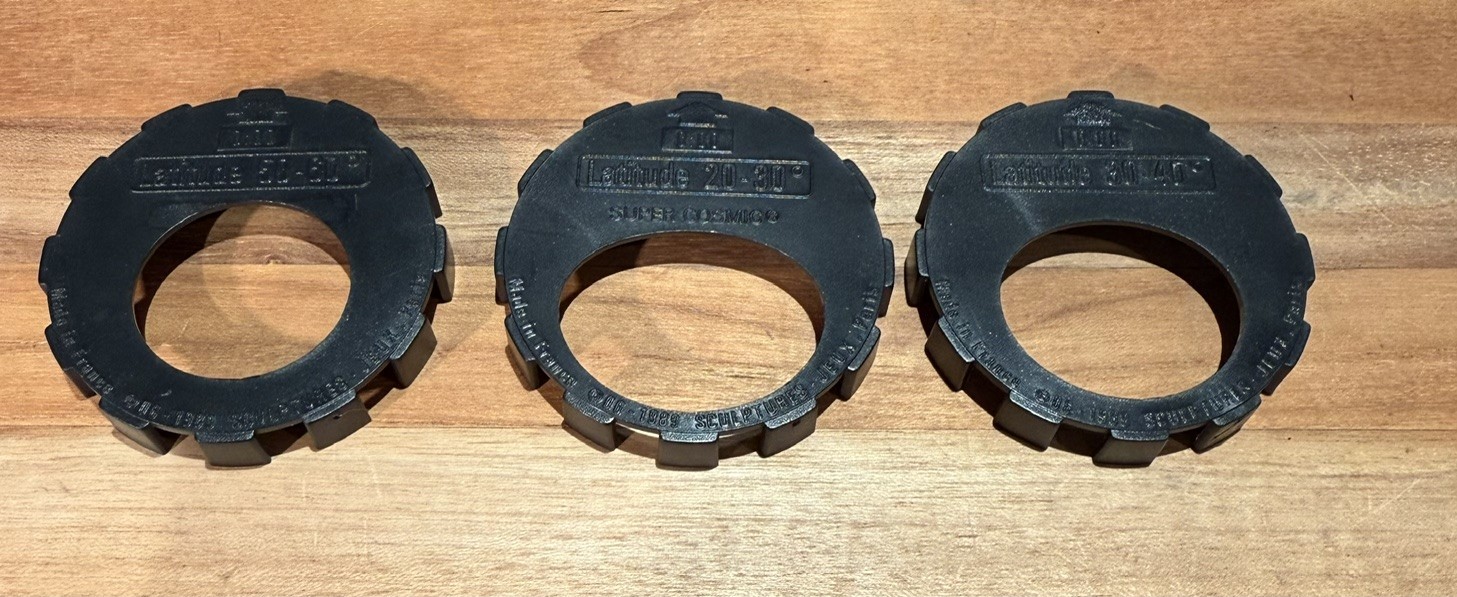
This model you see here comes with all (4) original spacers and both hemisphere sky maps; labeled “N” and “S”.
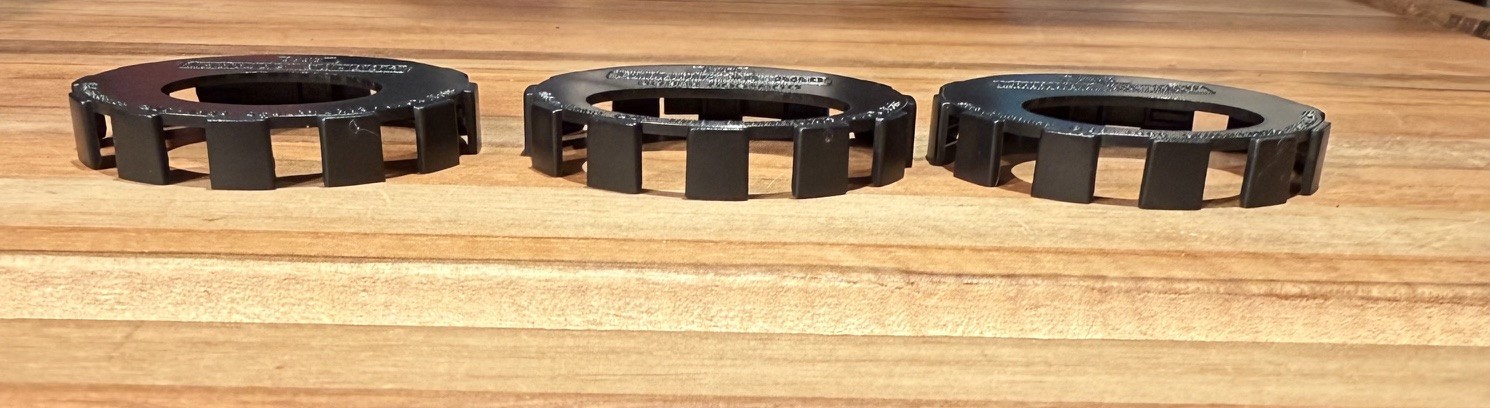
The spacers are those castle nut-looking collars. Each represents:
* Lat 20-30
* Lat 30-40
* Lat 40-50 (not seen in the photos because it is currently in use)
* Lat 50-60
These collars are the same dimensions, but you will notice that as the latitude numbers get smaller, the circle of the sky becomes more oblate. This is due to HOW the sky rotates from our perspective as the latitudes get lower. If you were to stand on the actual north or south pole, in the duration of the night, the stars will not rise/set; they will merely swivel around in declination motion. Your view of the sky with a planisphere at the north pole would need to be a perfect circle aperture.
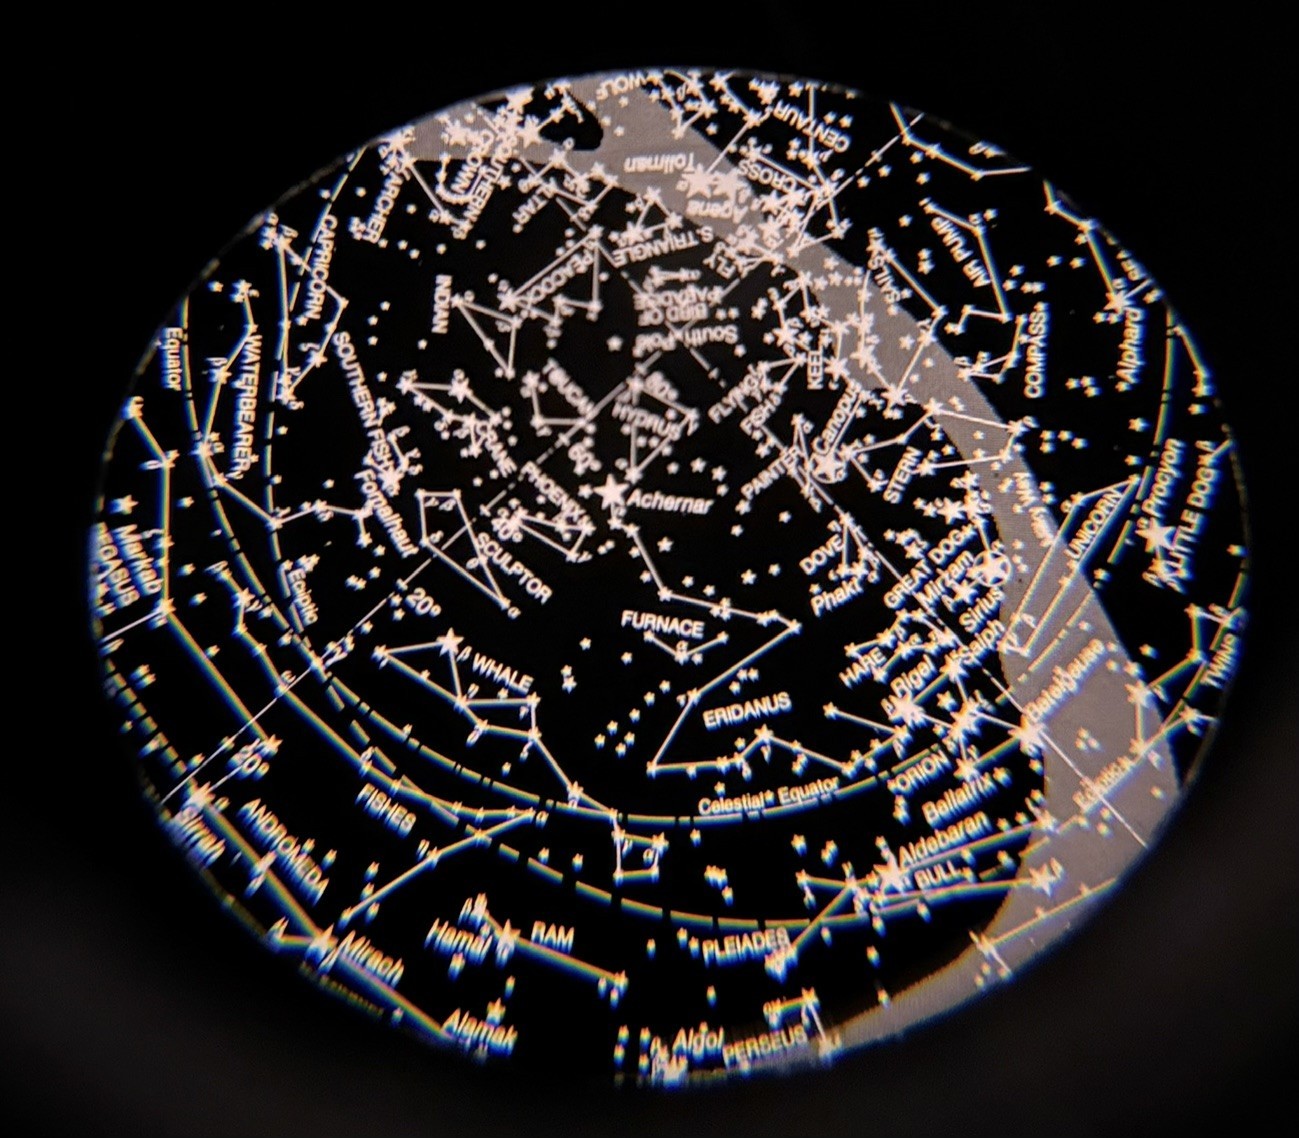
You will also notice that there are (2) pop-on star grids; one that says "N", the other says "S". This stands for "Northern Hemisphere" and "Southern Hemisphere". If you live in a house free-floating in our local universe, these maps will not be as helpful. If you're like me and stuck on the Earth, apply them accordingly.
And, again, if you live freely-floating about in space, you won't need to use those latitude spacers because you'll be able to see all of the sky at once at the turn of your neck. But, for the rest of us, you're stuck on Earth and, so, utilize the correct latitude collar for your latitude location on the planet.
Also, like a planisphere, you can use the Stellarscope in (2) ways:
1) You can dial-in the month, date, and time of your current location and then look through the eyepiece to see what stars are in the sky at the moment.
2) You can look at the sky and then rotate the settings on the Stellarscope until its view correctly portrays your outside view of the sky and now you can closely approximate the current date and time.
Because you may use this nifty accessory in different latitudes over time, it is important to know HOW to change the latitude degrees settings in your Stellarscope. It is easy to do and requires no tools. Your only responsibilities being not to use force when fitting the pieces together.
The correct spacer corresponds to your location’s degrees being within the spacer’s parameters. If are observing from 48 degrees north or south, use the spacer for 40-50. If you are at 34 degrees north or south, use the spacer for 30-40.
Step 1: Know your current latitude.
Step 2: Grip the Horizon portion with one hand and the Month portion with your other hand.
Step 3: Slowly pull them apart in straight manner (do not bend apart).
Step 4: Poke your index finger into the aperture hole and gently pop-out the Latitude spacer.
Step 5: Grab the correct latitude space and insert it into the grooves. When doing this, make sure the 0.00 arrow on the spacer lines up to the 0.00 on the time. If you don’t line them up, the spacer will not mesh. DO NOT use force.
Step 6: Carefully push-on the Month portion of the Stellarscope until it is flush.
Step 7: You are now ready to resume correct operation for your sky location.
If you are going to observe at the equator or south of that, you can switch-out the North sky setting for the South sky setting. Here’s how you change the sky setting:
Step 1: Gently grip the protruding, front collar of the Stellarscope. Pull out in a straight manner.
Step 2: Gently grip the Horizon portion with one hand and the Month portion with your other hand.
Step 3: Slowly pull them apart in a straight manner.
Step 4: Use your knuckle and gently push against the inside-facing portion of the sky setting until it pops-out. Do not use your finger tip because it will leave a finger print on the map.
Step 5: Grap the correct sky setting and push it into the front aperture of the Month portion. Make sure the sky map is facing inward and the “N” or “S” logo is facing outward.
Step 6: Carefully push-on the Month portion of the Stellarscope until it is flush.
Step 7: Carefully push-on the front collar of the Stellarscope onto the sky setting.
Step 8: You are now ready to resume correct operation for your sky location.
Finally, focus. If your view of the sky map is blurred, it needs to be focused. Simply pull-out or push-in the rear of the Stellarscope until the image is clear. Very simple. Average total length when assembled: 6.50-inches Materials: high-density polyethylene and polyvinyl plastics Weight: 4.1 ounces
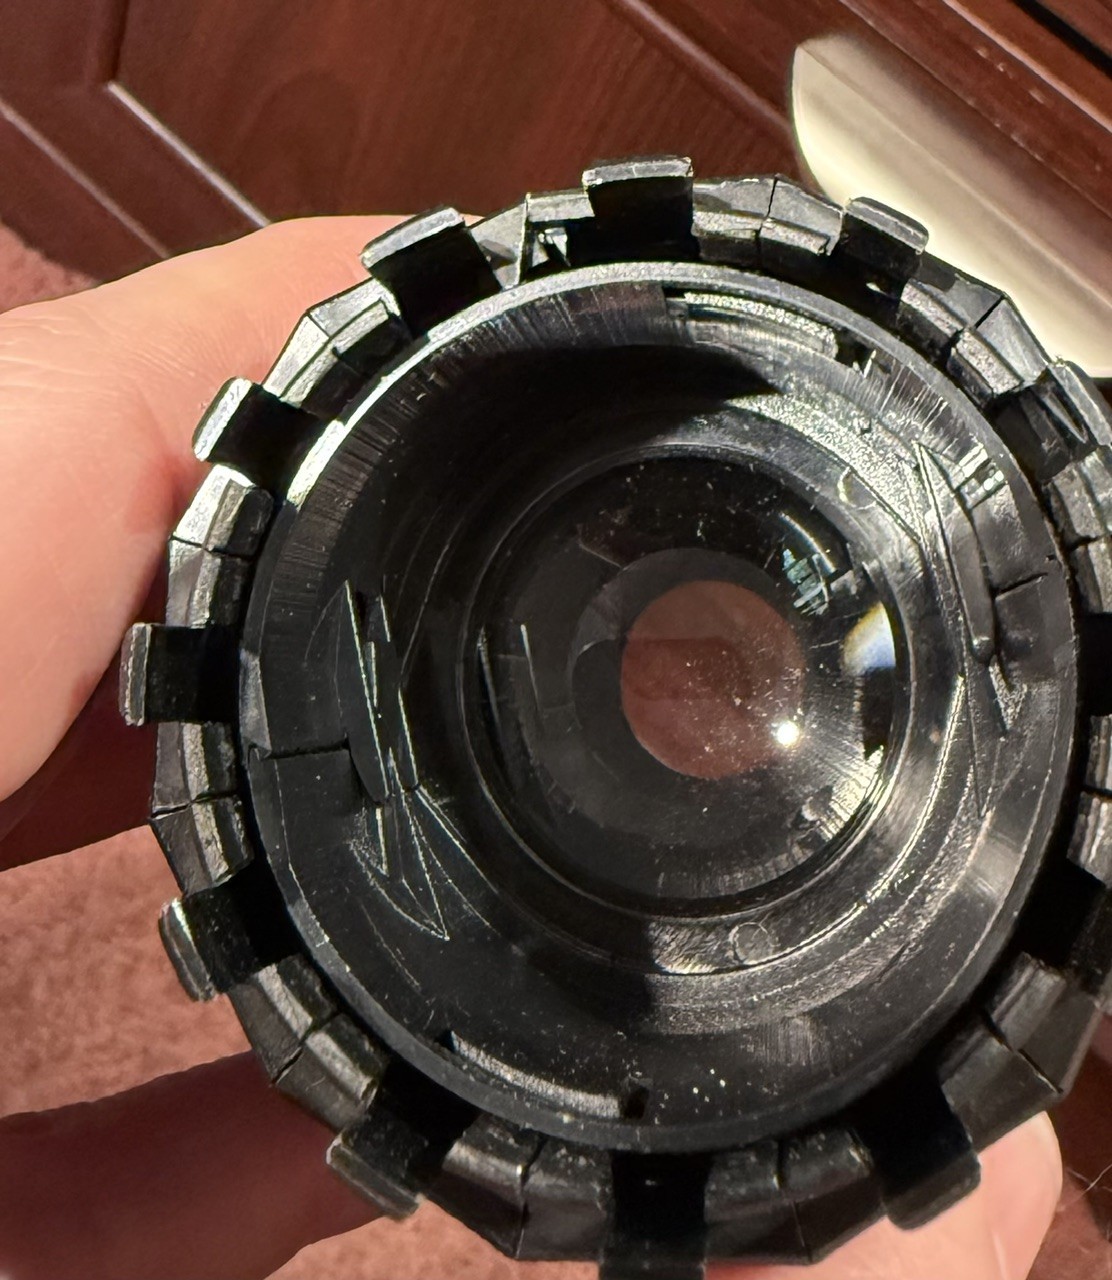
Physical condition is perfect. The Stellarscope operates effortlessly-smooth. No sticky spots, no uneven seams, no punctures or cracks or chips to the plastic. The sky maps are near mint clean with no stains or worn stars/characters. There is a very light presence of dust on the optics, which, by no means, requires ANY attention. Cosmetics are mint on all of the Stellarscope and very excellent on the box.
The Stellarscope is an invaluable tool in learning the night skies. Unlike the 2-dimensional, classic planisphere, which is a flat disc you hold in your hand, the Stellarscope is an actual kaleidoscope-style, view-in projection of the sky and gives the operator an immediate, physical connection to the stars overhead. Touch and the perception of holding something is one of the strongest ways humans connect in the physical world. Looking at a photo of a spider in a book is not the same as walking outside and watching the spider moving on its web in person. You won’t remember the photo of the spider, but you will remember having seen one (especially if you bump into its web). The Stellarscope works in the same manner. It is an ingenious accessory in learning and retaining knowledge and orientation of the night sky that I feel no sky app on any mobile device could duplicate.
Happy to ship to anyone on the planet.
Being an avid collector of vintage planispheres and star maps, I loved these Stellarscopes upon first sight as an early teen and remember when the late Al George (my mentor) of PGO Observatory in Tacoma, WA started selling these in his Sky Shoppe back in 1992. It is like a planisphere; actually, it IS a planisphere. Except instead of holding a flat disk in your hands and looking up at the sky, you hold the Stellarscope like a pirate's telescope and look through it to see the sky on a planisphere-like grid. Twisting it like a kaleidoscope rotates the "window" of visible stars in the sky.
It is an interesting concept and will actually captivate newcomers more easily to entry astronomy (especially kids and teens) because they get to grasp-and-hold the sky in their hands; enhancing connectivity values.
Anyway, this one here is an early 1990s example and is one of the earliest (if not the earliest) generation examples I have come across; the simple beige cardboard box being the giveaway. Usually, you see these in the corrugated plastic blue or green boxes; sometimes gray-white; all with far more enticing graphics on the box. Despite the boxes, which will tell the generation era, the Stellarscope itself remains widely unchanged from its original template, which goes back to June of 1989 when it was released by its designer, Bernard Vuarnesson of France.
Some of the most recent Stellarscopes now come with a keychain led light. By this time frame, they will now be sourced from Navir of Italy. But, again, the way the Stellarscope looks and operates is unchanged from the original. We have seen this with the Telrad Reflex Finder, which upon even a trained glance, appears the same since the 1980s.
This model you see here comes with all (4) original spacers and both hemisphere sky maps; labeled “N” and “S”.
The spacers are those castle nut-looking collars. Each represents:
* Lat 20-30
* Lat 30-40
* Lat 40-50 (not seen in the photos because it is currently in use)
* Lat 50-60
These collars are the same dimensions, but you will notice that as the latitude numbers get smaller, the circle of the sky becomes more oblate. This is due to HOW the sky rotates from our perspective as the latitudes get lower. If you were to stand on the actual north or south pole, in the duration of the night, the stars will not rise/set; they will merely swivel around in declination motion. Your view of the sky with a planisphere at the north pole would need to be a perfect circle aperture.
You will also notice that there are (2) pop-on star grids; one that says "N", the other says "S". This stands for "Northern Hemisphere" and "Southern Hemisphere". If you live in a house free-floating in our local universe, these maps will not be as helpful. If you're like me and stuck on the Earth, apply them accordingly.
And, again, if you live freely-floating about in space, you won't need to use those latitude spacers because you'll be able to see all of the sky at once at the turn of your neck. But, for the rest of us, you're stuck on Earth and, so, utilize the correct latitude collar for your latitude location on the planet.
Also, like a planisphere, you can use the Stellarscope in (2) ways:
1) You can dial-in the month, date, and time of your current location and then look through the eyepiece to see what stars are in the sky at the moment.
2) You can look at the sky and then rotate the settings on the Stellarscope until its view correctly portrays your outside view of the sky and now you can closely approximate the current date and time.
Because you may use this nifty accessory in different latitudes over time, it is important to know HOW to change the latitude degrees settings in your Stellarscope. It is easy to do and requires no tools. Your only responsibilities being not to use force when fitting the pieces together.
The correct spacer corresponds to your location’s degrees being within the spacer’s parameters. If are observing from 48 degrees north or south, use the spacer for 40-50. If you are at 34 degrees north or south, use the spacer for 30-40.
Step 1: Know your current latitude.
Step 2: Grip the Horizon portion with one hand and the Month portion with your other hand.
Step 3: Slowly pull them apart in straight manner (do not bend apart).
Step 4: Poke your index finger into the aperture hole and gently pop-out the Latitude spacer.
Step 5: Grab the correct latitude space and insert it into the grooves. When doing this, make sure the 0.00 arrow on the spacer lines up to the 0.00 on the time. If you don’t line them up, the spacer will not mesh. DO NOT use force.
Step 6: Carefully push-on the Month portion of the Stellarscope until it is flush.
Step 7: You are now ready to resume correct operation for your sky location.
If you are going to observe at the equator or south of that, you can switch-out the North sky setting for the South sky setting. Here’s how you change the sky setting:
Step 1: Gently grip the protruding, front collar of the Stellarscope. Pull out in a straight manner.
Step 2: Gently grip the Horizon portion with one hand and the Month portion with your other hand.
Step 3: Slowly pull them apart in a straight manner.
Step 4: Use your knuckle and gently push against the inside-facing portion of the sky setting until it pops-out. Do not use your finger tip because it will leave a finger print on the map.
Step 5: Grap the correct sky setting and push it into the front aperture of the Month portion. Make sure the sky map is facing inward and the “N” or “S” logo is facing outward.
Step 6: Carefully push-on the Month portion of the Stellarscope until it is flush.
Step 7: Carefully push-on the front collar of the Stellarscope onto the sky setting.
Step 8: You are now ready to resume correct operation for your sky location.
Finally, focus. If your view of the sky map is blurred, it needs to be focused. Simply pull-out or push-in the rear of the Stellarscope until the image is clear. Very simple. Average total length when assembled: 6.50-inches Materials: high-density polyethylene and polyvinyl plastics Weight: 4.1 ounces
Physical condition is perfect. The Stellarscope operates effortlessly-smooth. No sticky spots, no uneven seams, no punctures or cracks or chips to the plastic. The sky maps are near mint clean with no stains or worn stars/characters. There is a very light presence of dust on the optics, which, by no means, requires ANY attention. Cosmetics are mint on all of the Stellarscope and very excellent on the box.
The Stellarscope is an invaluable tool in learning the night skies. Unlike the 2-dimensional, classic planisphere, which is a flat disc you hold in your hand, the Stellarscope is an actual kaleidoscope-style, view-in projection of the sky and gives the operator an immediate, physical connection to the stars overhead. Touch and the perception of holding something is one of the strongest ways humans connect in the physical world. Looking at a photo of a spider in a book is not the same as walking outside and watching the spider moving on its web in person. You won’t remember the photo of the spider, but you will remember having seen one (especially if you bump into its web). The Stellarscope works in the same manner. It is an ingenious accessory in learning and retaining knowledge and orientation of the night sky that I feel no sky app on any mobile device could duplicate.
Happy to ship to anyone on the planet.