Image of the day

Captured by
Byron Davies

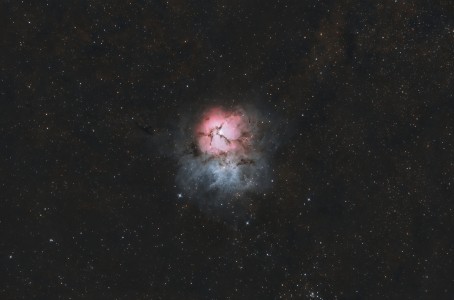
M-20 Trifid Nebula

My Account

New to Astromart?

Register an account...

Need Help?

Work Flow for Imaging processing

Started by Aubrey, 07/11/2011 10:44PM
Posted 07/11/2011 10:44PM Opening Post
I have been imaging now for a couple of years and moved to processing with Photoshop and Maxim DL this year. The problem. I have Adam Block's "Making every Pixel count" and other tutorials and find myself sort of bouncing around and not necessarily following the most logical process. Does anyone have a good workflow process sheet that they would share to a fairly newbe??

Aubrey
Posted 07/14/2011 06:51AM | Edited 07/14/2011 06:53AM #1
Image acquisition. Save to a file named after object. Make sure the filter wheel is labelled correctly so red is red and not blue etc.
Image LRGB with luminance say 2 hours of 10 minutes subs 1x1 and RGB 10 minutes 2x2 and 30minutes each minimum.

CCDstack
open all the luminance
dark subtraction and flat fielding
normalise using a bright and dim area in one selection box in the image.
data reject hot/cold pixel removal
register (I use the CCDis alignment plugin - its worth the $99)
combine - median.
save in file above with a new file called masters. Call it master luminance (number of subs)
I then run a 40 iteration deconvolution on luminance usually unless its a nebula.
save that.

Open all reds.
Do the same as above but usually I don't do deconvolution on RGB unless one is a bit bloated like blue.
Save each as an Red, green and blue master.

Open master deconvolved luminance and the masters for each of RGB.
Using luminance as base register (if you took Ha you do that now as well so they are all registered).
Save them all replacing the original masters - now all masters are aligned.
Create colour and create an LRGB at this point. Some may only make an RGB colour here. I use LRGB here. Sometimes I need to normalise RGB only if I get weird colours.
I select desaturate background as its often bright red or blue or something weird.
Save colour image as a tiff (all above saved as 32 bit floating tiff files).

Open the LRGB and luminance in Photoshop.
I work on the luminance with levels and curves.
then often a duplicate layer set to soft light and opacity to suit to increase contrast.
Often high pass filtering to increase sharpness and detail.
correct any gradients first up using Gradient Xterminator or gradient methods as in Adams tutortials.
Save luminance.

Do the same for the LRGB but you are more working on the colour, saturation, the stars, the star sizes, the areas of interest selected out and tweaked etc.
Now add a new layer and add the processed luminance this gives LLRGB really and you will see it make the image more luminescent.

Do final tweaks using masks usually for noise control (near the end of the processing) and final enhancement of details and colour.
Save final image. I save each version with V1 V2 suffix so I can revert to an earlier image if things go wrong.
I do a clean up of any background artifacts using the healing tool (there are often a few odd coloured pixels that get through or satellite trails etc).
I reduce the final image to 8 bits, 1200 x 1200 or thereabouts and save as a jpeg maximum settings for posting on the net.

You need to know how to do inverted masks, layer masks and levels and curves and know the basic tools of Photoshop and how they work.

That's it - piece of cake!! phew!

Greg Bradey