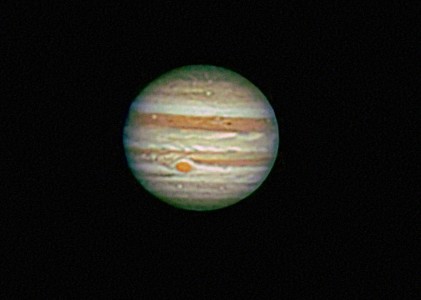
Image of the day

Captured by
Philip Imbrogno

Jupiter

My Account

New to Astromart?

Register an account...

Need Help?

Flocking an Orion XT 8

Started by Da1Ld, 07/14/2003 02:53AM
Posted 07/14/2003 02:53AM Opening Post
I’m looking for some advise on flocking my Orion XT 8 to increase contrast. I’m getting ready to order some Proto-Star flocked paper and wonder if I should flock the entire tube or just behind the secondary? Also, I heard that blacken the edge of the secondary helps to improve contrast. Any advise? Also, what the best way to flock the tube, one piece or sections?

Thanks
David Pope
Posted 07/14/2003 03:39AM #1
David,
I have an early XT-8, which I flocked using black velvet material from a fabric store. It was expensive (40$!), but I found that it had the lowest reflective qualities of any material I tested. The test? Simply shine a flashlight at the given material, and guage the reflection on the material! I attached it to the entire tube (inside!) in strips using white glue, which comes right off the mirrors using lens cleaning solution (if you get sloppy!)It took about 3 days, but the contrast enhancement was very noticeable, especially from light polluted areas! highly recommended! Chris Brown

There's something on the Moon! 8O
Posted 07/14/2003 04:34PM #2
David,

I did my XT10 with flocking paper from Protostar. $.40/inch, 30" wide.

I flocked the first 15" and last 15" of the tube. That was the 30" wide roll cut in half. I also flocked the upper part of the secondary and the focuser draw tube. The results are noticeable, especially for my light polluted driveway. Maybe not so much at a dark site.

The flocked paper is easy to apply and has been on for 3 months. Nothing is peeling away.

It's easier with a naked OTA, but removing the primary is all that's really required.

This is a great mod that doesn't cost a lot.

Clear skies,

Tom
Posted 07/14/2003 06:37PM #3
David

Flocking the tube and blackening the secondary are two pretty good scope improvements. I just did my XT a few months ago. It was a good improvement and I'm pleased with the results. I did the whole tube after it became clear all the hardware was going to have to come off anyways.

I ordered the paper in the same length of my tube plus a little extra. It turned out the width of the paper was enough to cover the inside tube diameter of my 8" scope, but please double check this point. The next step was to take a deep breath and take all the hardware off the tube. Secondary, primary, spotter scope bracket, focuser, side attachments and the stiffener ring, all came off. What you have left is just the big metal tube. An opened portable workbench with a couple of towels tossed over it makes a good worktable.

I laid one piece of black double-sided indoor/outdoor carpeting tape down the tubes seam. This was my starting point for putting in the flocking paper. You don't need to be pretty with this stuff, once it's in, you don't notice imperfections, it's just BLACK. I got a helper and a dowel rod (boom handle) long enough to reach through the length of the tube. Used some masking tape to lightly attach the flocking paper to the dowel rod, and rolled it up with the sticky side out. We put it inside the tube and kept it suspended, with each of us at opposite ends. Did a couple of dry runs working out what we were going to do next and then just went for it. We lined up the edge with the double-sided carpet tape, pressed it into place. Then just started pealing and sticking. We found it was easier to rotate the tube as we went and work the paper gently from the inside out. The main objective was to avoid any "bubbles" in the paper. At the end, we simply over lapped the paper, took a straight edge and ran a razor knife to trim. Last thing was to trim the outside edges, focuser hole and all the other hardware holes and figure out how to use the excess flocking paper.

As long as it was disassembled, I darkened the edges of the secondary and ended up doing some of the primary. Painted the spider assembly ultra flat black and put back together. You could drop a shop light down in this thing and you couldn't tell if it was on or off.

The final step was to finally understand collimation, but that's a different story…

jay