Image of the day

Captured by
Michael Scherman

Lagoon and Triffid Celestron C6 Hyperstar4

My Account

New to Astromart?

Register an account...

Need Help?

Semi-custom Eyepiece Case

Started by atracht, 10/01/2005 05:41AM
Posted 10/01/2005 05:41AM Opening Post
My wife was kind enough to give me a relatively large (15" x 12-1/2" x 7-1/2") camera case for my astronomy gear. At first, I used the supplied pluck foam, but I didn't like it. It didn't fit the profiles of my eyepiece very well, and it wasted lots of space.

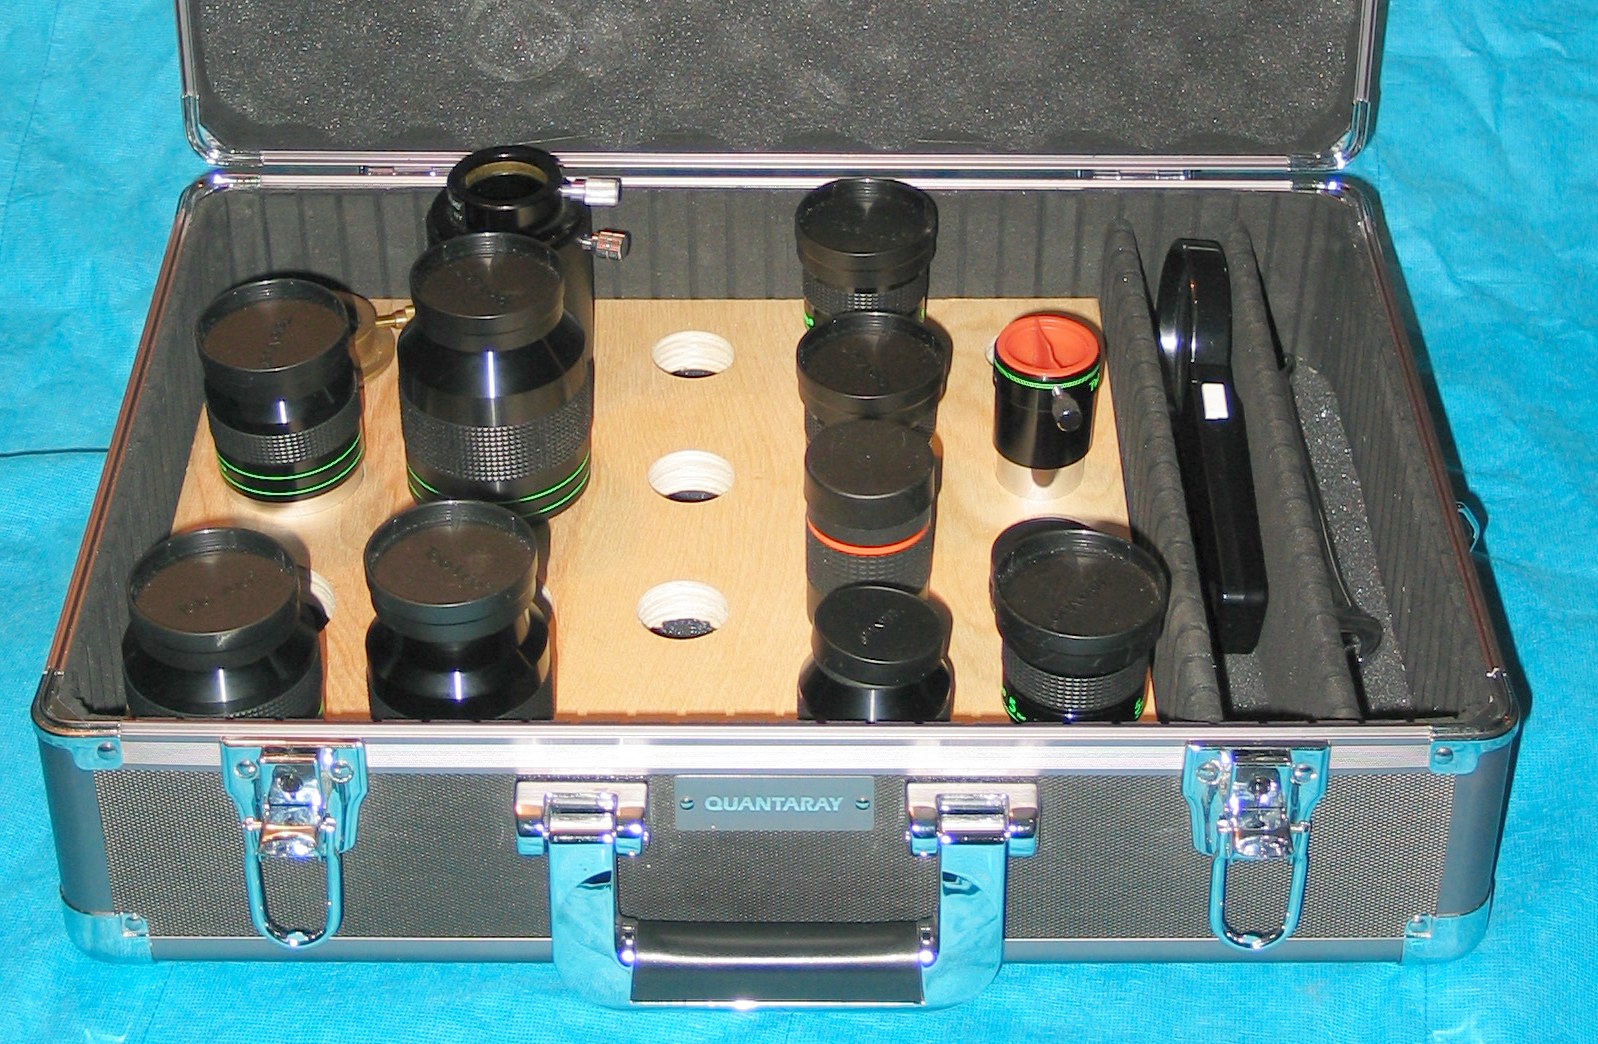
When I started to get a more substantial collection of eyepieces, I knew I had to use the space more efficiently, so I removed the foam and installed a 3/4" plywood plate that was drilled with a variety of 1-1/4" and 2" holes. The plate stands on 1" long feet to allow the eyepieces to be inserted more fully. This allowed me to store my eyepieces vertically and leave lots of room for more.
Attached Image:
atracht's attachment for post 27205
Posted 10/01/2005 06:00AM | Edited 10/01/2005 03:22PM #1
Soon, however, I realized that my eyepieces were in jeopardy: If the case were inverted, or even if it were picked up too suddenly by its handle, the eyepieces could fall out of the plate and be damaged.

I couldn't come up with a scheme to lock the eyepieces down to the plate, so I instead decided to raise each eyepiece a custom height so they would all be pressing against the eggcrate foam in the lid.

I first thought to make wooden rings that would connect to each other with brass pin to form adjustable-length tubes. I soon learned that routing small rings is harder than it looked.

I also tried making tubes out of beveled wooden strips. Again, this involved a lot of labor and was not very attractive when I was done. I finally concluded that no matter how much I liked the look of wood, wooden tubes would require either a lathe, or much more patience and skill than I posses.

So, I switched to acrylic. Extruded acrylic tubing with a 1/8" wall thickness is readily available in both 1-1/4" and 2" ID from U S Plastics, and I already had some 1/4" (actually about 0.220") acrylic sheet which cut easily on my table saw.

I started by planning my layout. In anticipation of a Nagler 31, I allowed 3.3" in diameter for two of the 2" eyepieces, and 3" for the rest, and 2.5" in for each 1-1/4" eyepiece.

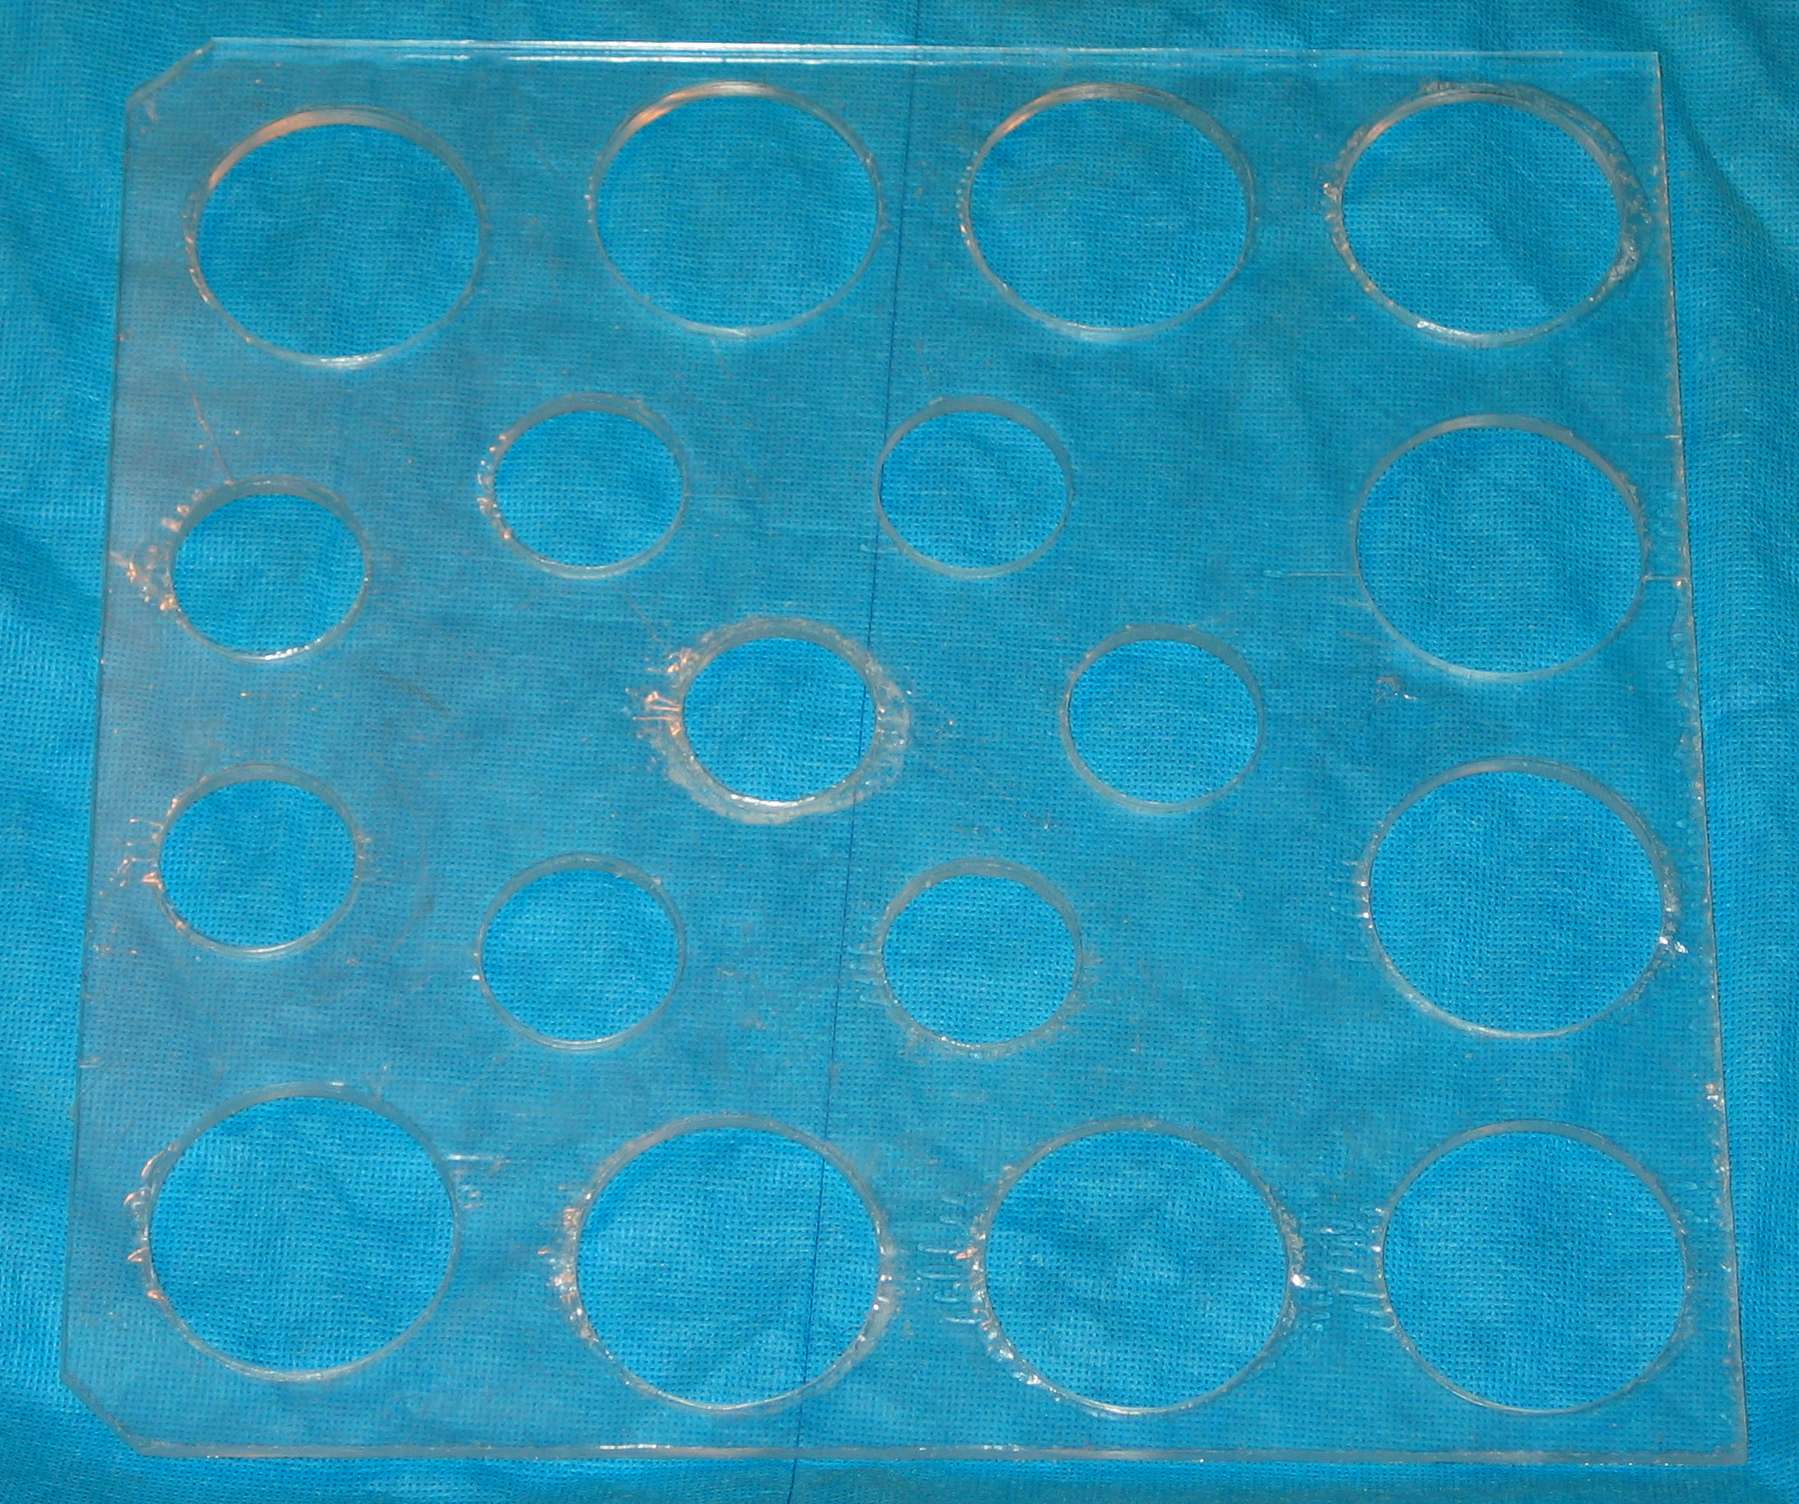
Once I got the layout right on my computer, I started drilling by drilling a 1/16" hole at the center of each eyepiece position. Then I used Forstner bits to drill 1-1/2" and 2-1/4" holes as needed. The holes were started on one side and then the plate was inverted to finish the holes from the other side, to make the cleanest holes possible.

Even with lots of lubrication (I found cutting oil to work better than water) I had to stop every few holes to allow the bits to cool. I knew that the bit was getting too warm when the shavings were softening and becoming sticky.

Here's the plate, all drilled, with the protective plastic film still attached:

Attached Image:

atracht's attachment for post 96744
Posted 10/01/2005 06:05AM | Edited 08/30/2006 07:52PM #2
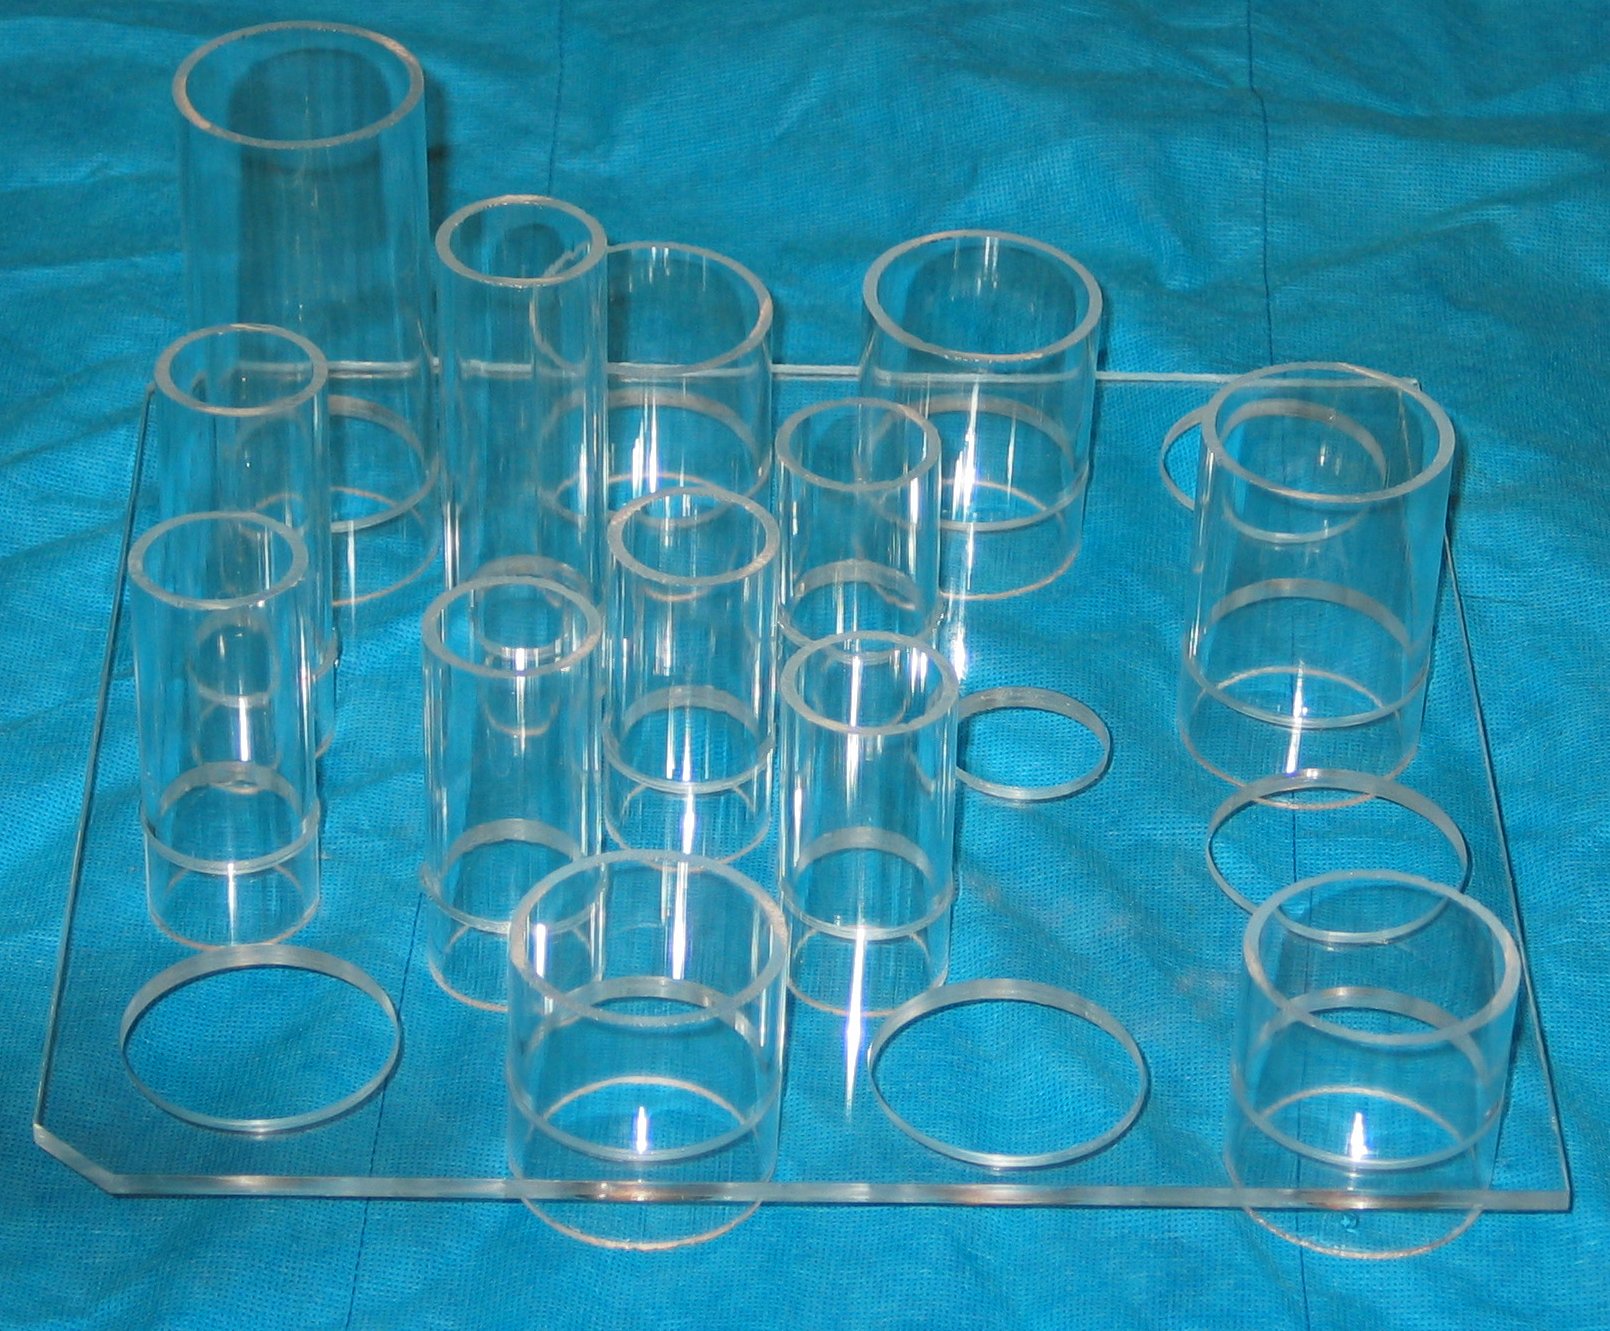
Now, all I had to do was to measure each eyepiece and cut a piece of tubing so that the eyepiece inserted in the tubing, with the eyelence cap on, would be 5.75" tall. The longest tubes were for the 1-1/4" adapter and the Nagler 3-6 zoom. The shorted tubes were for the 55 Plossl and 35 Pan.

The off-the-shelf tubing fit snugly in most of the drilled holes. One was a little loose, but that shouldn't be a problem. One hole was too tight, so I opened it with a brake master cylinder hone that I picked up at a local auto-parts store.

Here's my plastic "pipe organ":

Attached Image:

atracht's attachment for post 96745
Posted 10/01/2005 06:10AM | Edited 10/01/2005 06:10AM #3
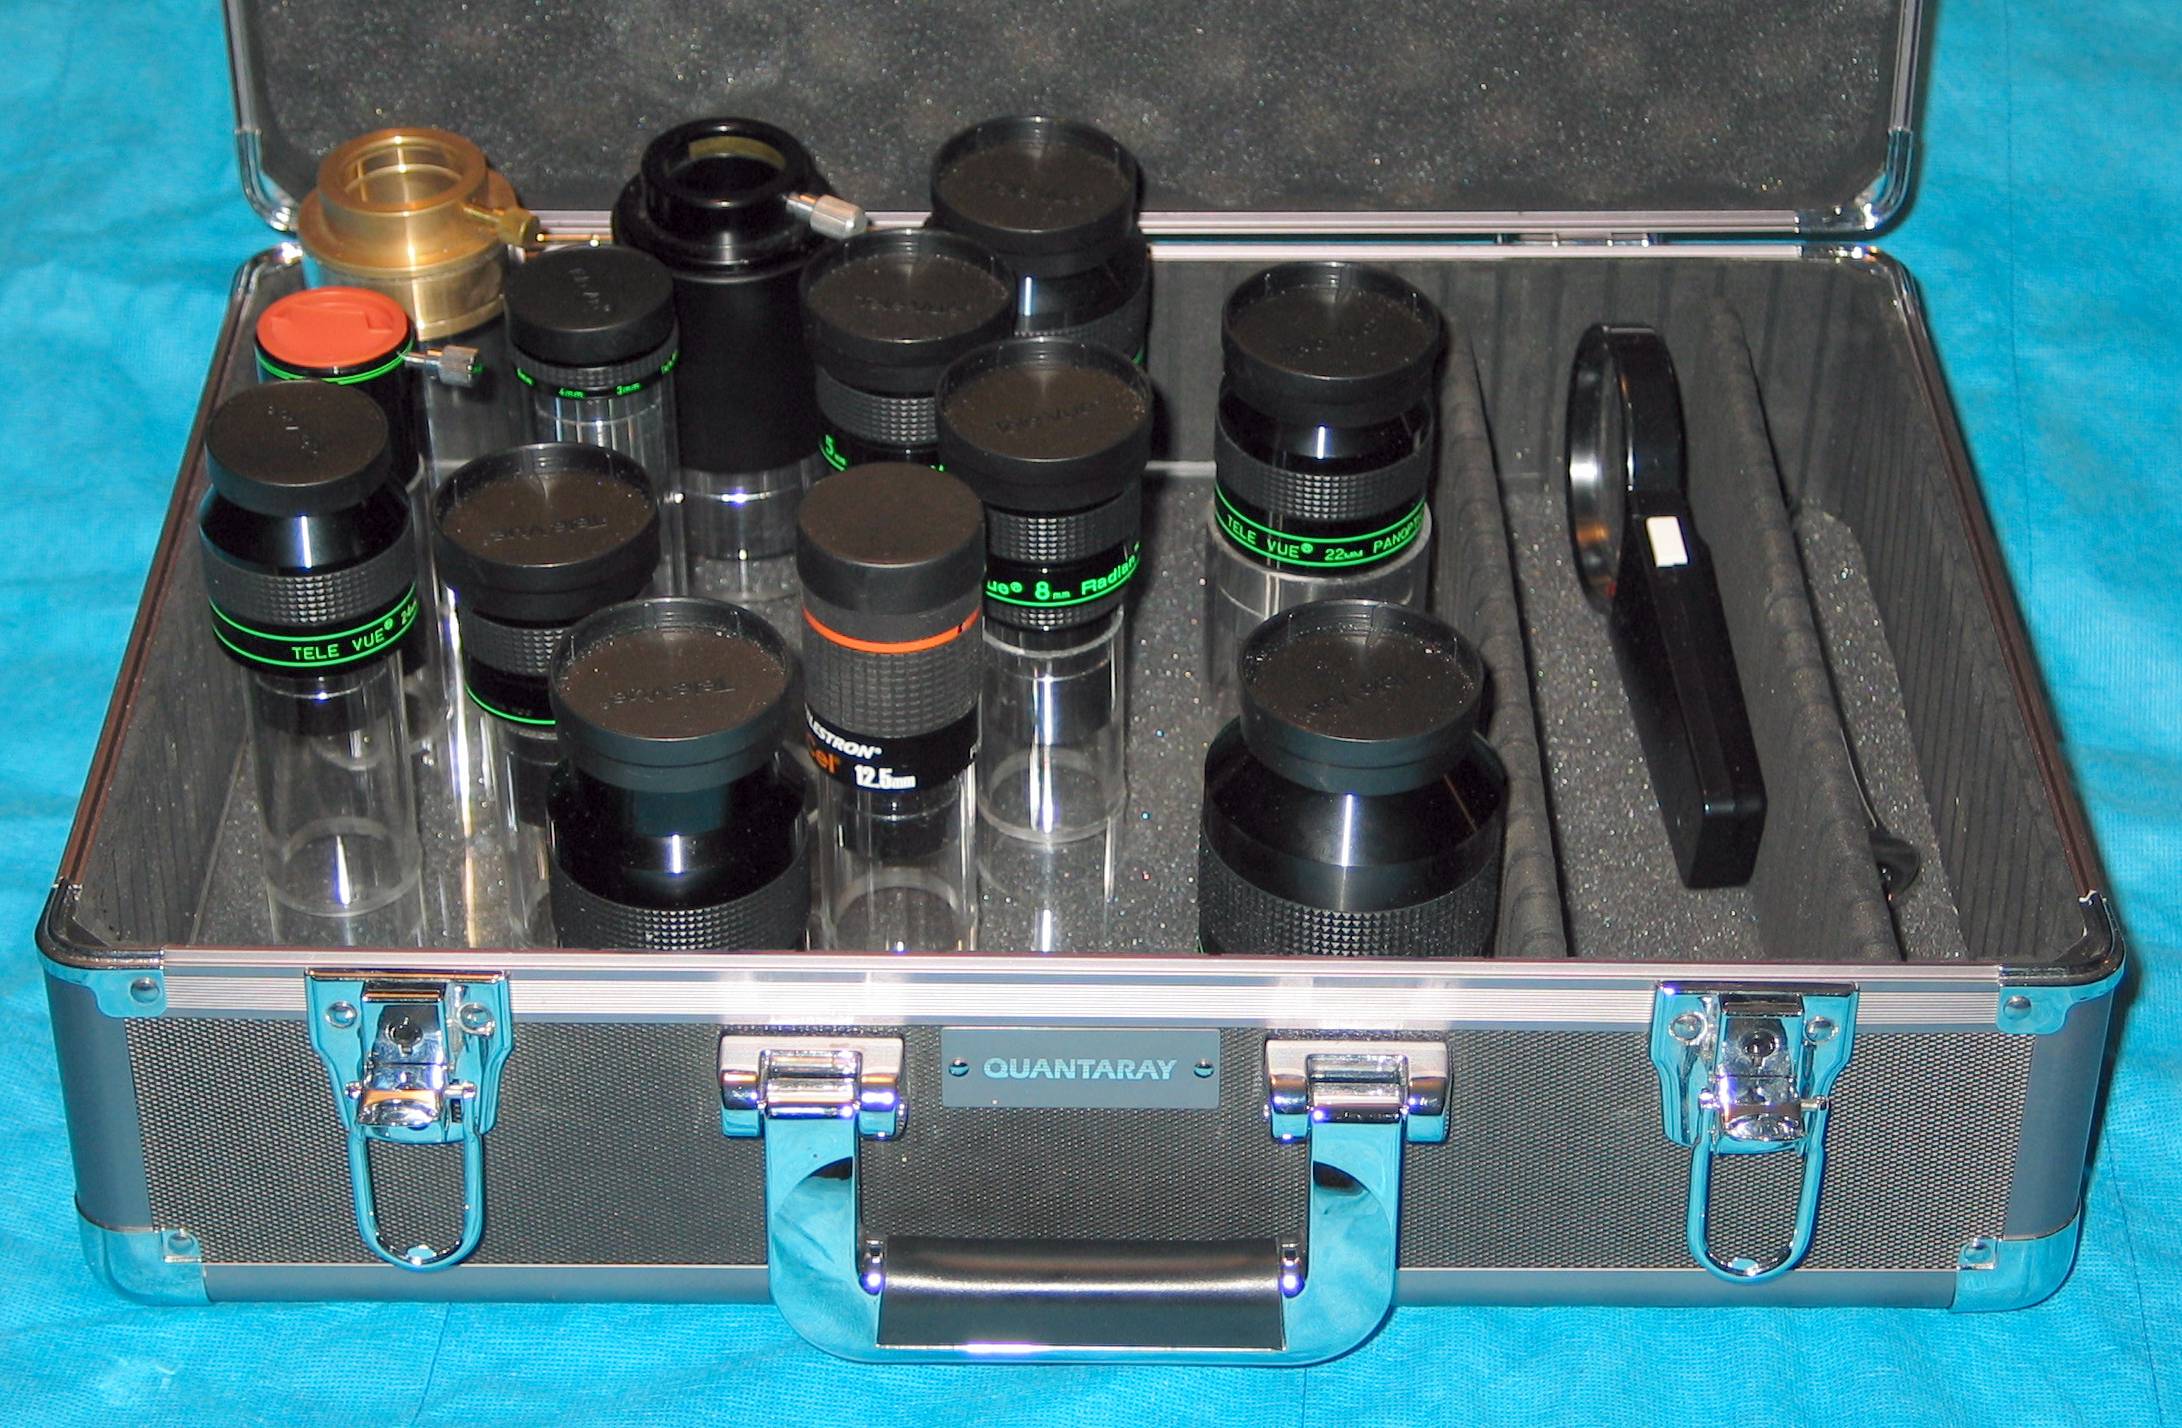
Here's the case, fully assembled and populated. The new plate is slightly narrower than the old, and so the equipment area to the right of the eyepieces is now larger. It's equipped with dividers that were supplied with the case.

Now I don't worry about carrying my eyepieces.

Attached Image:

atracht's attachment for post 96746
Posted 10/01/2005 06:41PM | Edited 10/01/2005 06:44PM #4
Allen,
You should contact the people who make the Eyelight Eye Piece Case.They could use your expertise. It is similar to yours but without your solution. I bought one minus their case because it did not have enough clearance for the larger 2 inch EP's. There is a review of this case on Cloudy Nights. Just the acrylic base with holes drilled cost me $175.00. I put it in a deeper Docksil case that I had which solved the problem of not being able to close the door but then I had the problem you had with smaller EP's not being in contact with the foam in the lid and moving around. I solved this by putting thick foam over the smaller EP's so there is pressure on them when the lid is shut. Your solution is much more elegant and looks a thousand times better. The only difference I can see with yours and mine is that mine has red and green LED lights that you can turn on at night so you can see your EP's with loosing night vision. This is something I am sure you could also easily do. Here is the link to the company who makes the Eyelight case: http://www.the-right-stuff.net/wst_page4.html Thanks for the post and photo's. I am sure that you will enjoy your case even more seeing what something very similar cost.
Dan

Danny Halstead
Moderator APM Forum
Posted 08/30/2006 10:10PM | Edited 08/30/2006 10:13PM #5
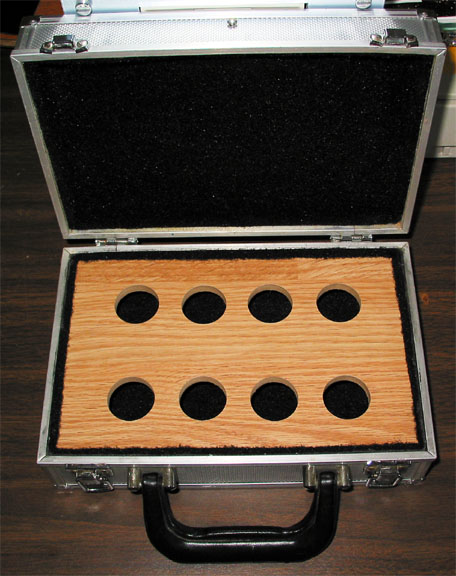
I did that too on a case where all the EPs were about the same length, in this case a set of Orthos.
But, when I was dealing with 31mm Nagler to 2.5mm BO/TMB I found that the foam was either to fabricate. Each EP is held in place and can not shift during transport and they are protected better from vibration and shock, in case I drop the darned case. wink

Attached Image:

fblue's attachment for post 106770

[SIZE="Large"][/SIZE][COLOR="Blue"][/COLOR] Floyd Blue grin
Amateur Imager