Folks,
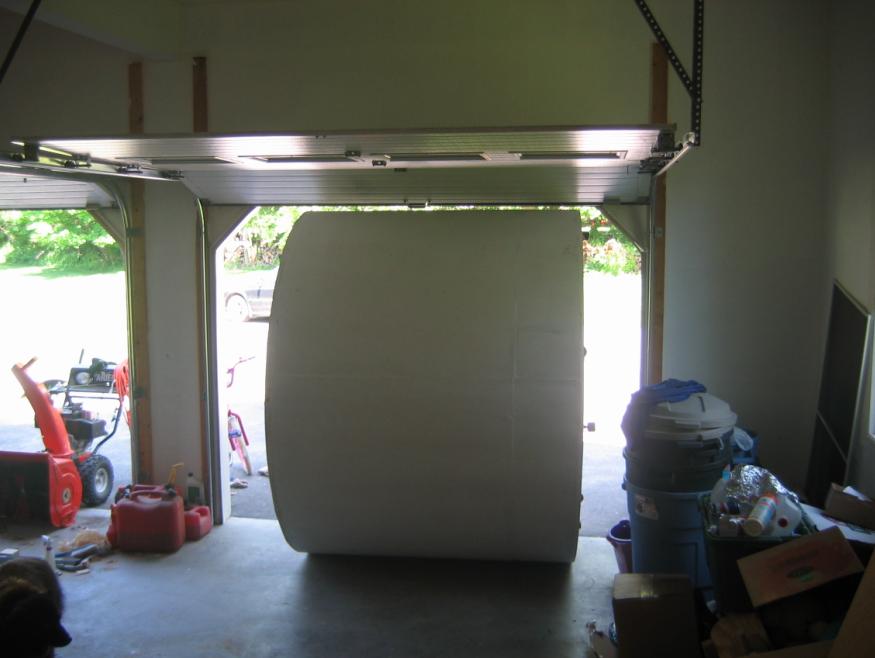
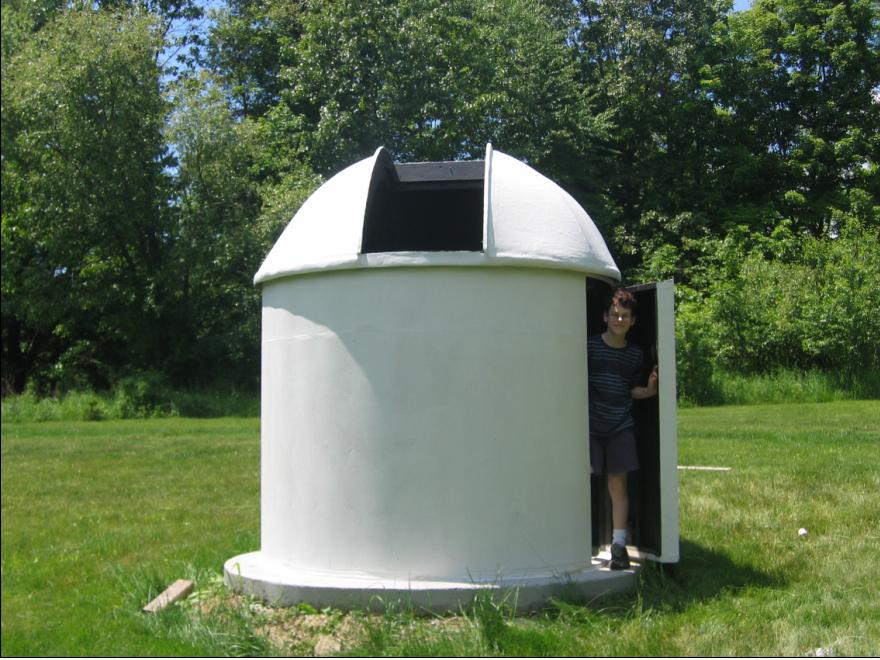
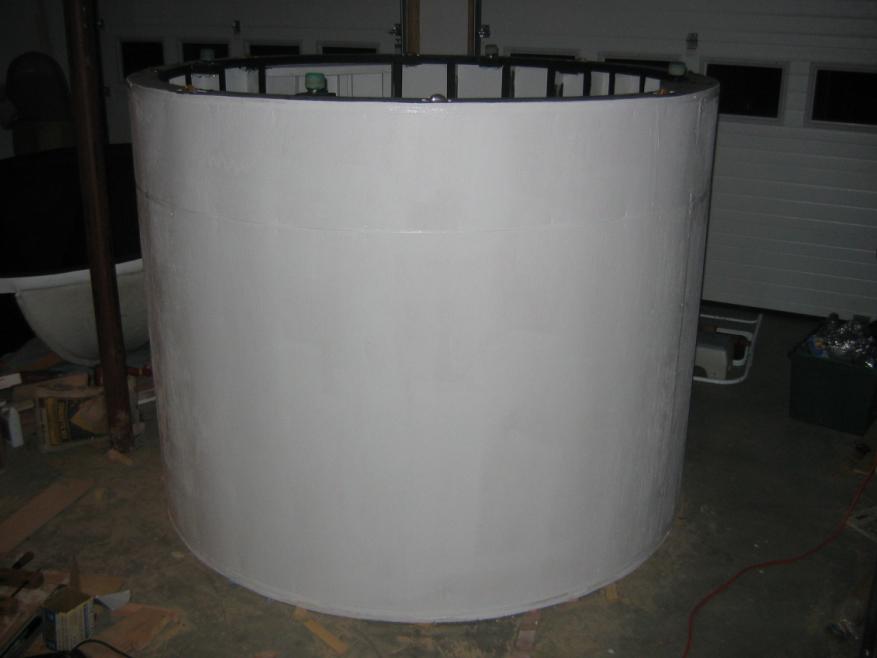
I finally skinned the lower cylinder, including the "rounded" door which I spent way too much time on. The initial primer coat is on, with 1 more coming plus the final epoxy coat. Inside walls were "pre-primed" before being screwed in and will be painted flat black at the end.
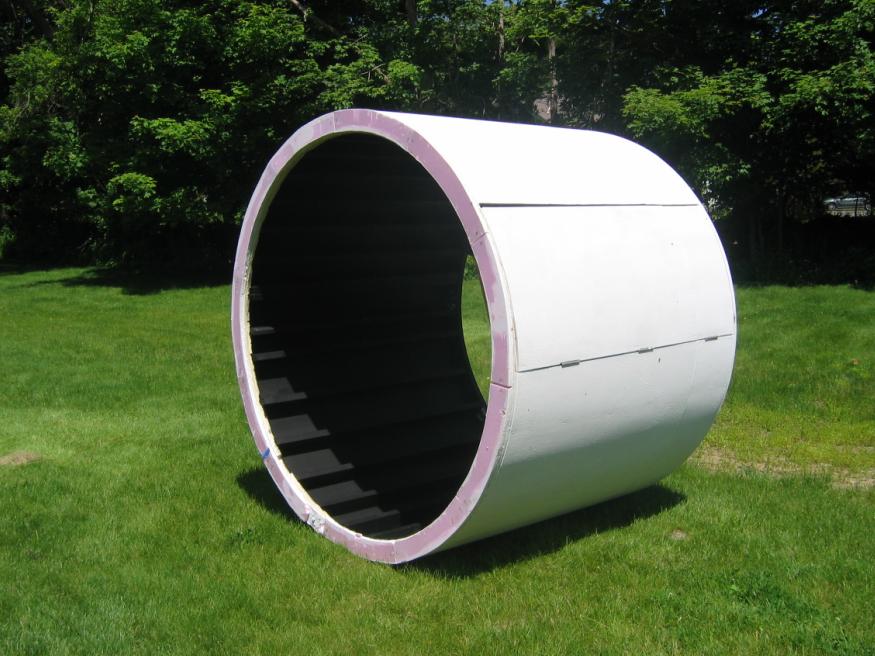
I struggled with the underneath treating of the wood ring to prevent long term rot. My final setup was coating the under ring with boat resin, then cut/glued on 3/4" pink foam insulation to keep the wood off the concrete base. This should be good enough. Also, I am hoping that the pink insulation board will allow for variation in the concrete pad.
I am debating whether to epoxy paint the dome/cylinder in my garage or outside assuming CT can get a 2 day dry window... To roll it out to the backyard site, I plan to use 10x12 carpets, moving them back and forth keeping the cylinder off the driveway/yard.
Hopefully, this will be done soon since I haven't been able to use my scope since October...
Regards,
Steve
I finally skinned the lower cylinder, including the "rounded" door which I spent way too much time on. The initial primer coat is on, with 1 more coming plus the final epoxy coat. Inside walls were "pre-primed" before being screwed in and will be painted flat black at the end.
I struggled with the underneath treating of the wood ring to prevent long term rot. My final setup was coating the under ring with boat resin, then cut/glued on 3/4" pink foam insulation to keep the wood off the concrete base. This should be good enough. Also, I am hoping that the pink insulation board will allow for variation in the concrete pad.
I am debating whether to epoxy paint the dome/cylinder in my garage or outside assuming CT can get a 2 day dry window... To roll it out to the backyard site, I plan to use 10x12 carpets, moving them back and forth keeping the cylinder off the driveway/yard.
Hopefully, this will be done soon since I haven't been able to use my scope since October...
Regards,
Steve
Attached Image:

 Those rounded doors can be a bother can't they! I made mine out of 2x6's and door skins and it was challenging!